Mankato Marathon 2013

Done!!

It has been one week since I ran the Mankato marathon and I am now able to go up and down steps without my legs reminding me of the work they did one Sunday…I am sure it looked funny for a few days, but it was worth it.

I am super pumped to have completed my 5th full marathon, you can read about last years Mankato race here , I am actually ready to run the same race next year, I really do enjoy this course and the support along the way.

My day:

5:15 AM alarm goes off, hit snooze

5:25 AM stagger out of bed…take a nice warm shower, put on my running gear, complete with a nice layer of glide to prevent chaffing…wish me luck.

5:45 AM waiver on outfit, its is freezing outside, it has not been so cold yet this year, I do not want to spend the next 4+ hours cold, and wet.

5:55 AM wolf down egg, toast, banana and bring coffee and vitamin C charged water with me.

6:04 AM all 6 of us in the car on the road….getting a little nervous

6:45 AM I am dry heaving out the window of the only car on highway 14….might be the vitamin and ibuprofen I gulped down or my nerves, this has never happened before!!!

7:28 AM get to Mankato and head straight into the CVS for black garbage bags, rain on the forecast and maybe even snow!?!?! Gotta love Minnesota weather!

7:45 AM biffy business done….ready to run

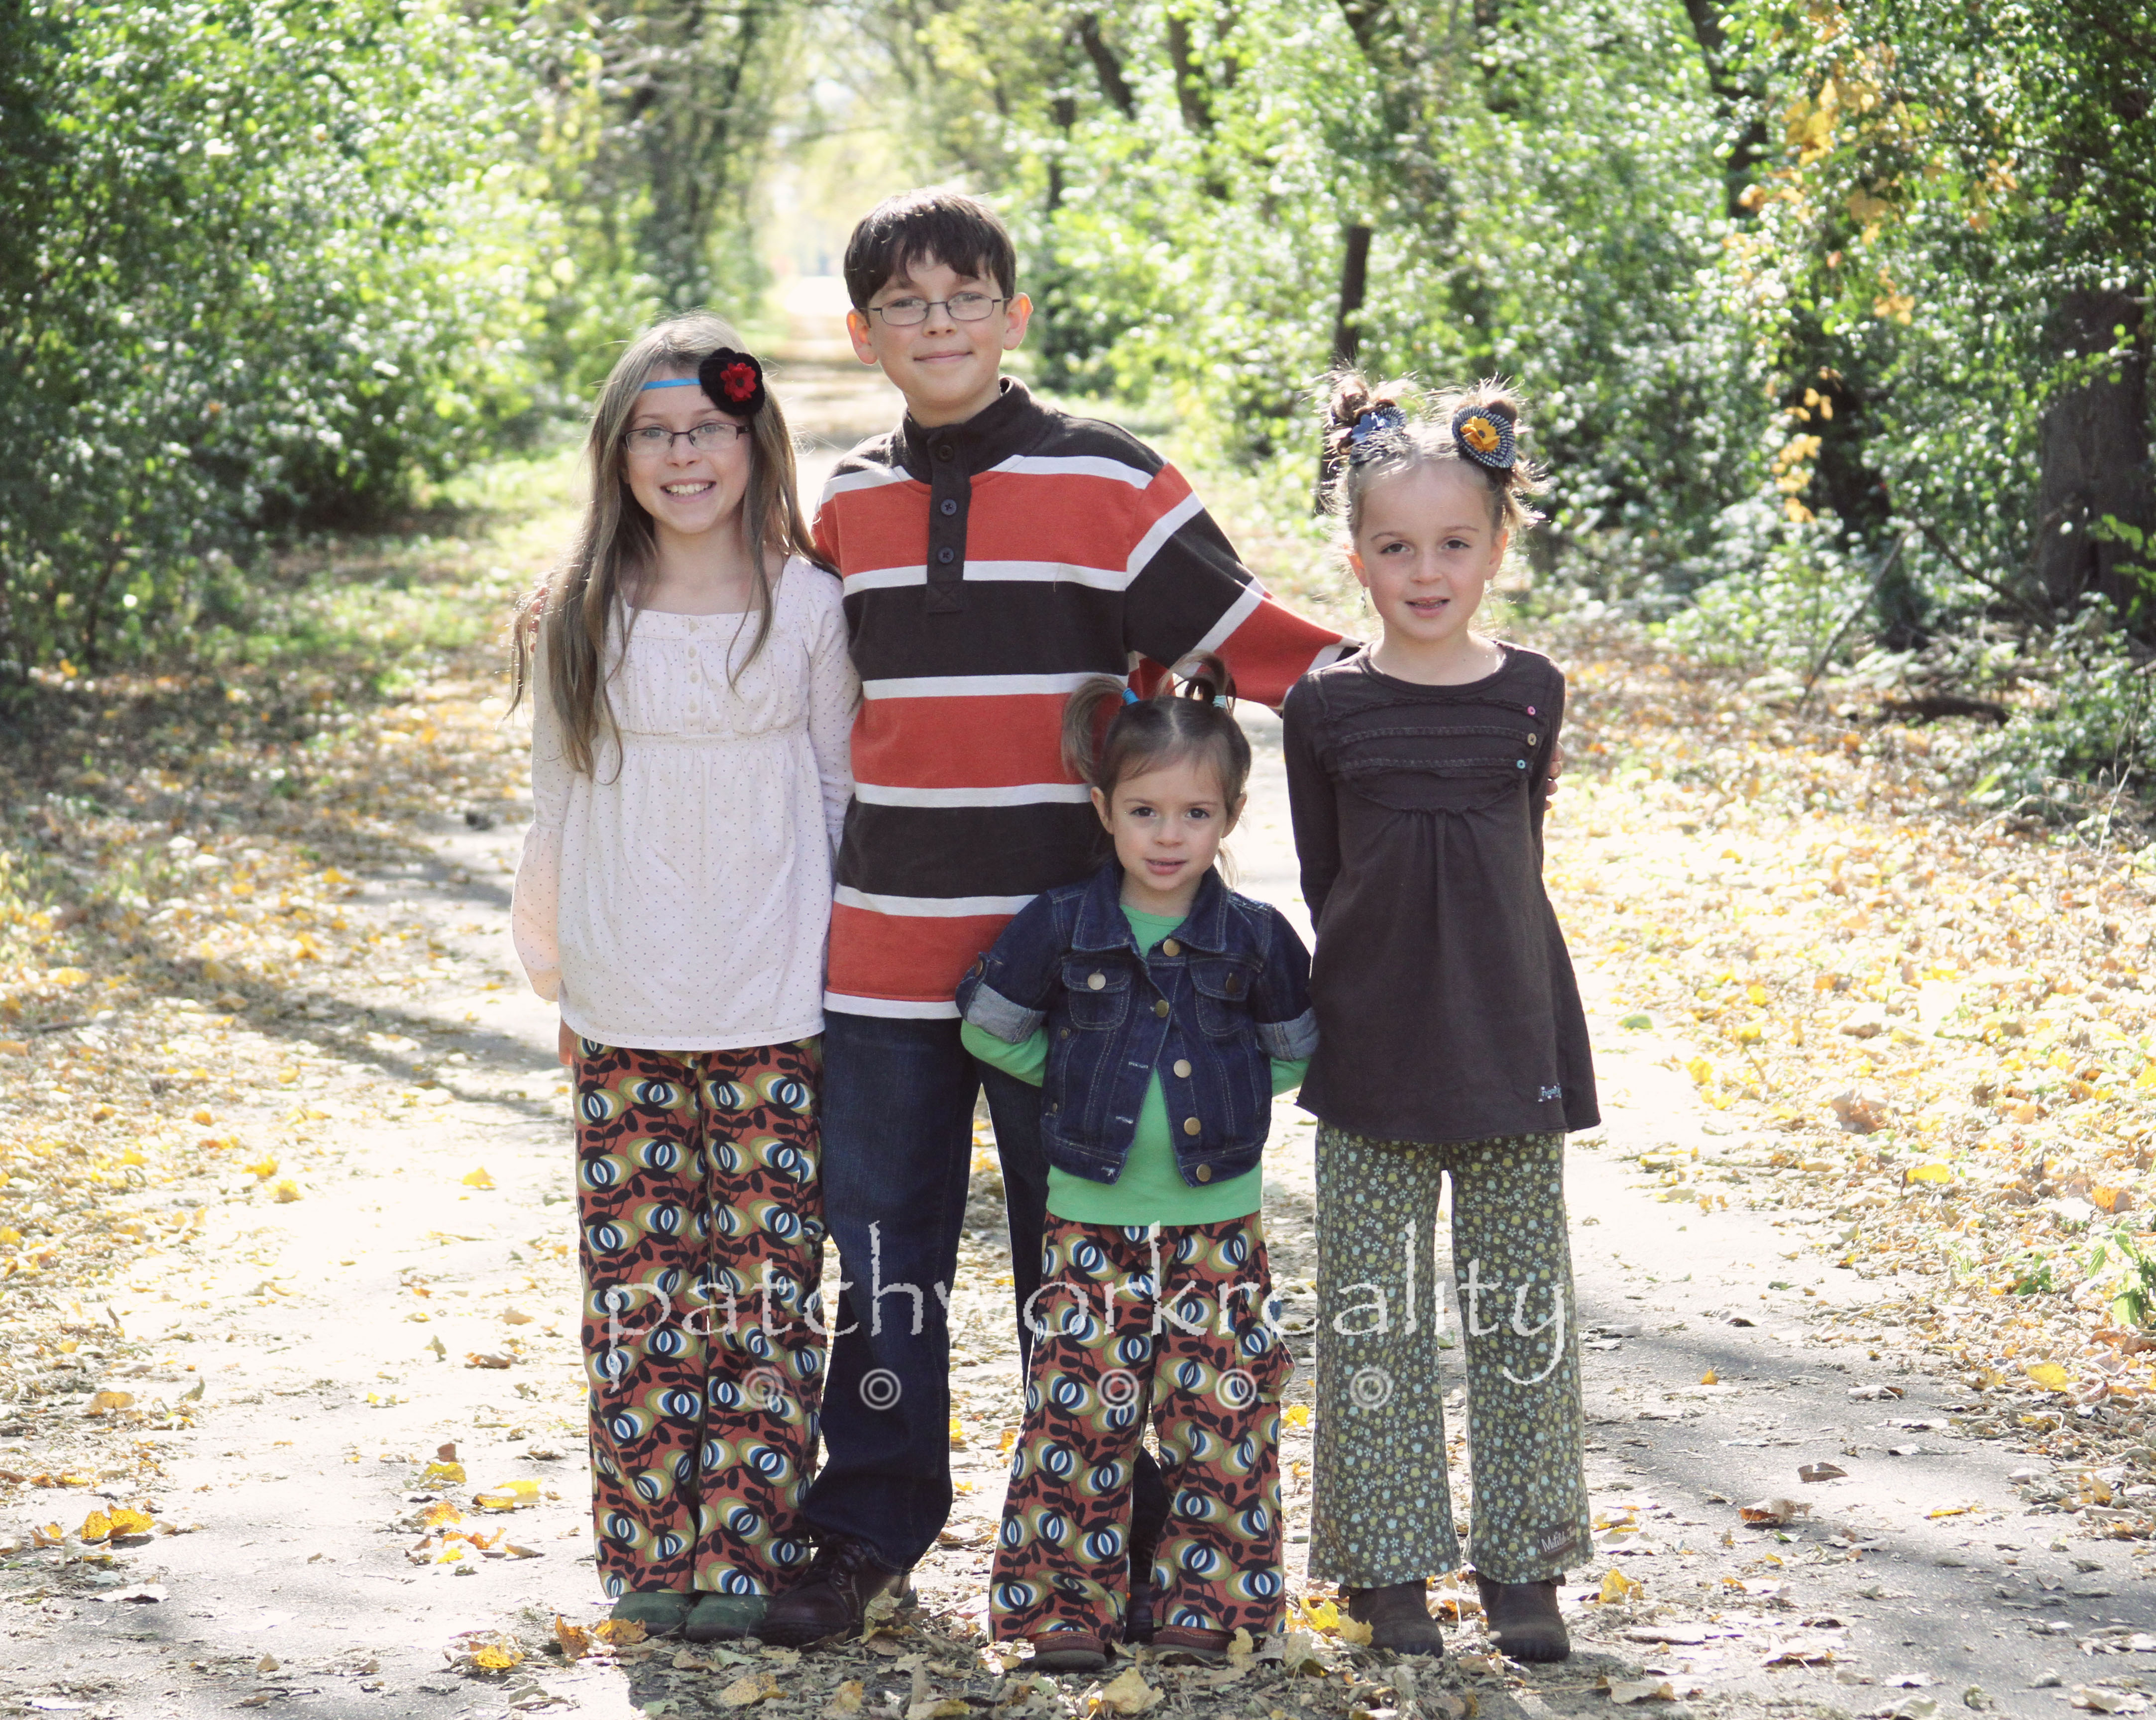
7:56 AM Photo op with my favorite fans!  Another mom in the parking lot with kids crowded around her for warmth offered to take our picture, thank you!  (notice my socks, it is the only was you will recognize me in the end…brrrrrrrrr!)

Mankato Marathon

8:00 The gun goes off, like cattle we head through the start gate and listen to the beeping of our time chips activating and Garmin watches starting…here we go.  Mind  you I am wearing a huge Sherpa lined hoodie sweatshirt, have a garbage bag with head and neck holes wrapped around my hydration belt, 32 ounces of water in bottles and gu chomps…not feeling all the light, but ready to run.

~8:45 AM right around mile 5 I am warm enough to take off my hoodie and throw it in the ditch, just as the 4:15 pace group comes up behind me, I run with them for quite a few miles. I am feeling confident and ready to rock this race, (yes it took almost an hour to warm up and get my head in the race!)

~11:17 AM (all this and still not lunch time?…I know!!) about 20 miles in I am starting to hurt, I take the ibuprofen I brought with me, at this point it is like having a baby without an epidural…you either can or you cannot…you won’t remember all that you went through in the end but there will be a baby medal in your arms and an irreplaceable sense of accomplishment.

~12:32 PM (how as your lunch?) I cross the finish just seconds after seeing my family in the crowd cheering for me, I caught my hubby’s eye glimmering with pride.  I take off my hydration belt and my chest tightens I can hardly breathe, man pride is a crazy thing.  I walk and have a medal put around my neck.  (yes it is me…those socks won’t lie)

Mankato Marathon

Then I ask in a super small watery voice for one more, to give to Ana the Brave who I ran in honor of.  She has fought a battle with brain cancer that no one can train for..she needs some bling too!

Mankto Marathon

~1:15 PM Noodles for lunch, my favorite, it takes awhile and does not sit well but I need that calories.

~1:45 PM back on the road heading home to a hot shower and my bed.  Already planning on training better for next year! 🙂

Official chip time for 2013: 4:31:34, honestly my slowest, but I put the least amount of training into this race and felt great to accomplish it, so I am happy with that time.

Pumpkin Patch Flash

Say that 5 times fast!

Just like any other great small place you find that is amazing and not well known, once word gets around it is the new hot spot, still great but changed.

Alas our charmer of an apple orchard/pumpkin patch falls into this category.

But first this past weekend I had my mind set on a photo shoot with the kids, me=photographer, kids=subjects, then a visit with some family and then the pumpkin patch, remember hubby is working, I am going solo.

There is a small town in MN where 3 generation of my dads family have lived on a farm that has been shrinking as each generation passes it on, however there is a fantastic bike trail, and now an orchard/pumpkin patch, that butts up next to what used to be “our land”, and land that still belongs to a cousin, how can this not be the place to gather fall goodies!?!

Pictures first:

This is one of my faves…such personality! I took hundreds of shots, just clicked away and chatted with them, seemed to work well.  The quilt they are sitting on was made in 1937….it does not come out often but what better time then a photo shoot to use some of the special pieces we have right?!

Patchworkreality

This one was right before someone was pinched I think…and I forgot Avalon’s hair pretty ( I made all the hair pretties…blush) but look at how big they are getting!

2013 October 105 copy_edited-1

We visited with my Aunt and uncle that still live on the family farm and went with another Aunt to the pumpkin patch.  In the meantime we picked up a friend who is like a sister to Tanna.

Holy cats, they piled out of the truck bee lined for the big orange pumpkins, each picked out a pumpkin that they needed to have another buddy help them carry to the wagon  which we used to haul the pumpkins to the truck. Patchwork pumpkin patch

Than they ran from animal to animal, through a barn…fed some goats..my aunt and I could barely keep up. We did get to see some animal very close, the kids just loved these pigs…

Piggy

Changes I noticed from years past; They no longer let you pick apples off the tress, we used to each get a bag and fill it up off the tress, they now sell bagged apples and donuts and have a small concession stand. The corn maze seemed to have been down sized a bit to allow for more parking and there were less animals, the kids were bummed that this year there were no kittens.  Still a Great pumpkin/apple/gourd place, and the people are so friendly it just feels a little more commercial, maybe the kids felt it too.

I had the kids pack and bring a sack lunch which we enjoyed on a hay wagon under a beautiful weeping willow and everyone was ready to go.

2013 October 434 copy

It was fast and furious Pumpkin Patch flash fun…

Haystack photo

Landing in Fall

Hi all!
This has to happen fast because Halloween is my Hubby’s favorite holiday, well all of ours truthfully, and I wanted to take a picture of the front landing, or porch, (it is too small to be a porch?)… front step I guess, but its a BIG step. Anyway prior to the life sized coffin, yes he built one, and all the spooky Halloween displays hit the front yard I wanted the front landing/step to look inviting and comfortably fall-ish.

Fall Front Landing

I took out all the spring and summer flowers, that had mostly withered away in August while we were in California and put in mums, I got them at Lowes for 42 cents a pot, they were the small ones but it is perfect for the terra cotta pots I had on hand and the space.

Fall Front step

I left the trailing potato vines, they seem to do well in this weather and a few wildflowers that are obviously living on just air, because they still look amazing, I added a few small gourds and pumpkins in the planters which the kids brought home from their school garden.  Then I hung up that uber cool orange metal owl that I thrifted for $5.99 at Savers a few years ago, adding a little more color.

Fall

I also hung up a wreath I mde last year from out from strips of fabric I cut out of the kids old Halloween pajamas, shirts, pants and boxers, year boxers;)  Gymboree makes some very cute Halloween boys boxers briefs, and I could not just toss them out, don’t worry they are clean.  I saw how to make this wreath on another blog, but after my last computer died I lost some links so when I find it I will add it., or make one for you. It is really easy.  I also like that the fabric is meaningful, I can remember some of those jammies on my little chubby ghouls.

DIY Halloween wreath

I will share the spookier version when it is complete, you can come back if you dare….ahhahhahahhhaaaaahahaha

Westish

Yes, the annual Heise Gypsy Trot is under way.
I have cleaned and organized as best I can the entire house, who likes coming home to a messy house?
I have made the kids lists of what to pack, some may not have enough stuffed animals when we get where we are going but c’mon I bet there are stores in cities whose zip codes start with a 9, right?!

We are heading to the city by they bay, to see my brother, uncles, aunts, cousins, and grandparents.   I bet you are wondering why in the world I am here in MN and not in that sunshine state, I know me too!!

We will be gone for almot 3 weeks, 6 days of which will be driving.

I will have loads of photos when we get back until then….enjoy summer!

No wait I can explain…

I admit to starting 2 blogs, one was for family/house projects and all the other fun life moments and photos, I started a second blog for my running and racing photos/updates, seriously if you are shaking your head at me right now I totally get it.
What was I thinking, I DO NOT HAVE that much time nor organizational skills, but I am admittedly they type of person that believes I CAN.
So dear followers, if your email displays numerous posts from me today I assure you I did not write all those posts today, I merely merged irunmaiden.com with patchworkreality.com and will from this moment on be a single blog author…for now.
Seriously thank you for your following!

Frozen Raspberry Lemonade Popsicles

Today marks the official first day of summer…I know some of you have been enjoying summer weather for a while, but blue skies and wispy clouds combined with higher mercury readings are finally here in MN!!!  Yeah!!!

That means little bodies are heating up and taking to the water.  At our house my kids are huge fans of anything sweet that comes from the freezer.

This is a rendition of a recipe I saw on-line and tweaked a bit.

None of the ingredients in this are hard to find or really all that great for us…(read: no paleo here;)), however it is a treat and as treats go, they are not usually broccoli…am I right?!

Ingredients:

  • One box of Raspberry Jell-O (you could really use any flavor, strawberry would also be really tasty)…8 serving size.
  • Lemonade mix, enough for 8 servings, more or less depending on your tartness preference.
  • Water
  • Ice
  • Sugar (Optional)
  • Dixie cups
  • Plastic spoons or Popsicle sticks

Ebay 1589

Boil 4 cups of water and stir in Jell-O, lemonade and any sugar if you like to sweeten your mixture.
Add ice cubes to a glass measuring cup, add water to equal 2 ½ cups total, then add to Jell-O Mixture.
Pour into paper cups; I put mine into a muffin tin to keep it steady for the little helpers I had, also to catch the drips.  I also used a funnel to help keep things neat. Put in freezer for 2 hours.

Ebay 1591
After 2 hours they should only be partially set. This is when we added plastic spoons, I did this so little hands could hold onto then better and avoid a stick, put back into the freezer for another hour or two. This made about 14-16 pops with the Dixie cups approximately 3/4 full.

ENJOY!!!!

2013 June 658

Poppa’s Day

At our house he goes by Poppa, some families use different aliases, dad, pop, daddy, padre, poppy, fathter…and not all are created the same, but thanks for life right?!

This Poppa here has a heart of gold, he has been a trooper since before they were born, he went to almost every OB appointment, got up and brought the baby to the milk supply every night that he was home., changed and washed countless diapers.

Rocked and sang all these littles to sleep with more patience that I could muster some days.

He trades shifts to be at ball games, pick up from camps; music performances and pre-school special days.,

2013 June 565 copy

I am immensely thankful that all 4 of his children have been patiently taught how to fish, quietly catch frogs and bugs, and have had his soothing voice read them stories for bedtime.

All that being said, he still knows how to be a circus dad and get them riled up right at bedtime, taught them how to make fart noises with their hands, and probably other fun/gross tricks when I was not home.

Poppa

I am so very thankful to celebrate with day with my kids, because they truly have a special Poppa who loves them more than he could have ever imagined.

DIY Oak Hardwoord Floors.

I shared the pretty; now the nitty gritty.

Here is how is went down…almost literaly.

We let our wood acclimate to the house for a little more than 2 weeks, more than recommended but with all our crazy weather and rain we wanted to make sure it was not too humind, which can lead to gaps in flooring later.

We tore out the carpet.  And by we , I mean Jon, Solomon and Avalon had it up when I brought the other 2 kiddos home from an activity one evening, I came home to them pulling up the tack strips, that held the carpet down, they rolled up the carpet and then rolled up the pad, the bottoms of both had some staining from juice and other spills, reaffirming our choice to go wood.

Carpet Tearout

This is the sandy stuff that was right at the seam of where the carpet had met our existing hardwood floors, I am thinking it is  a combination of,  well dirt and sand 😉  and the backing of the carpet that just sort of falls apart over time. Ick!

Carpet dust?

We cleaned the sub floor which was in excellent shape, it is only 7 years old, by vacuuming and a small warm water/soap spot clean where needed.

Then we laid down tar paper, as a sound and protection barrier between the sub floor and the oak.

Tar paper

Since we were installing this up to existing hardwood flooring we knew it was going to be fairly level but we double checked to make sure that the new pieces going in were level.  We also had to face nail in the first boards since there was a small trim piece that we had taken out and the tongue part of the connecting board was not there.  Face nailing means to nail it into place through the top of the board, we did this with small finish or trim nails and then filled the small holes with putty.

Then we set to work staggering our boards to make sure no board ended at the same spot, and nailed them in place.

After about 4 or 5 rows we would cover it with a red builders paper or rosin paper, to protect the unfinished wood.

When we got towards the end of the rows Jon would cut the last piece to fit exactly in place, this is where some real skills come into place, there will be a piece of oak corner round along the wall trim, but you need to make the end floor pieces fit as close to the space as possible.

Below you can see how we staggered the boards and covered them and toward the wall is where you can see boards would need to be cut to fit.

Floors

Also if you are taking out carpet to put in hardwood you may and you have a heating/cooling vent you might have to cut down the register if you are putting in wood grated with your flooring, I do not have pictures, but Jon cut our down easily with a sawsall, be careful when cutting the metal for sharp spots!

The last few board of the flooring have to be face nailed again, at least our were since the nail gun would not fit close to the walls.

After all the flooring was in we rented a sander from Menards, and they had 3-2-1 sanding pads for sale that fit the machine, 3 being coarse, 2 less coarse, and 1 the fine and final sand.  They did not think I would need the 3 but I brought it home anyway and I am glad I did because there were some spots that the wood was higher/lower and he 3 took care of this quickly, the 2 would have taken a long time.

Sander

Once it was all sanded and smooth, we wiped the wood down with lightly damp clean rags, just enough to catch all the dust but not soak into the wood.

Oak Flooring

We let it dry and then did 4 coats of an oil based polyurethane.  The poly we chose was the one we thought best matched the existing floors.

2013 May 700

I think we got it right:

Oak Flooring

Again the before and after:

Living RoomOak Hardwood Floors

Tools used for this Oak floor DIY  project:

  • Hammer
  • Small crowbar
  • Screwdriver
  • Sawsall
  • Rented Orbital Sander
  • Painting wand and pad
  • Wood floor Nailer
  • Putty Knife
  • Level
  • Saw

Cost for this DIY Project:

  • Oak flooring and 2 registers:  $814.74
  • Disposal fee for old carpet and pad:  $25.00
  • Nailgun: Free (borrowed from my Dad)
  • Nails for the nailer: $25.92
  • Tar Paper and Rosin Paper: $7.45
  • Wood putty : Free (again we had this on hand)
  • Sander rental and 3-2-1 pads: $43.39
  • Polyurethane and painting pad( we used the handle we already had): $83.05
  • Tools: Free (we had all of them on hand from other projects)
  • Labor: Free 🙂

This project totals : $999.55

Just under a G, bids on this were around $2500.!!  We saved over 1/2 by DIYing this floor and we LOVE it!!

It did take most of Memeorial weekend, but that included many interruptions from those that are now pitter pattering around on this beautiful floor.

So I think most could be this done in a weekend but each coat of poly needs about 3 hours between them, so if you did more than 4 coats it will add time to the job.