DIY Oak Hardwoord Floors.

I shared the pretty; now the nitty gritty.

Here is how is went down…almost literaly.

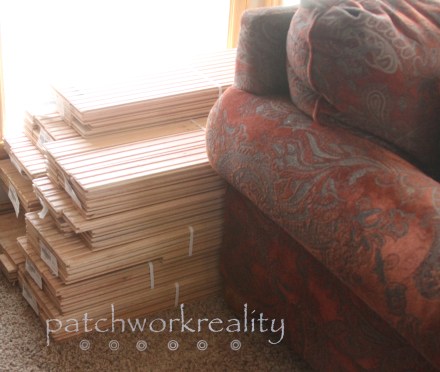
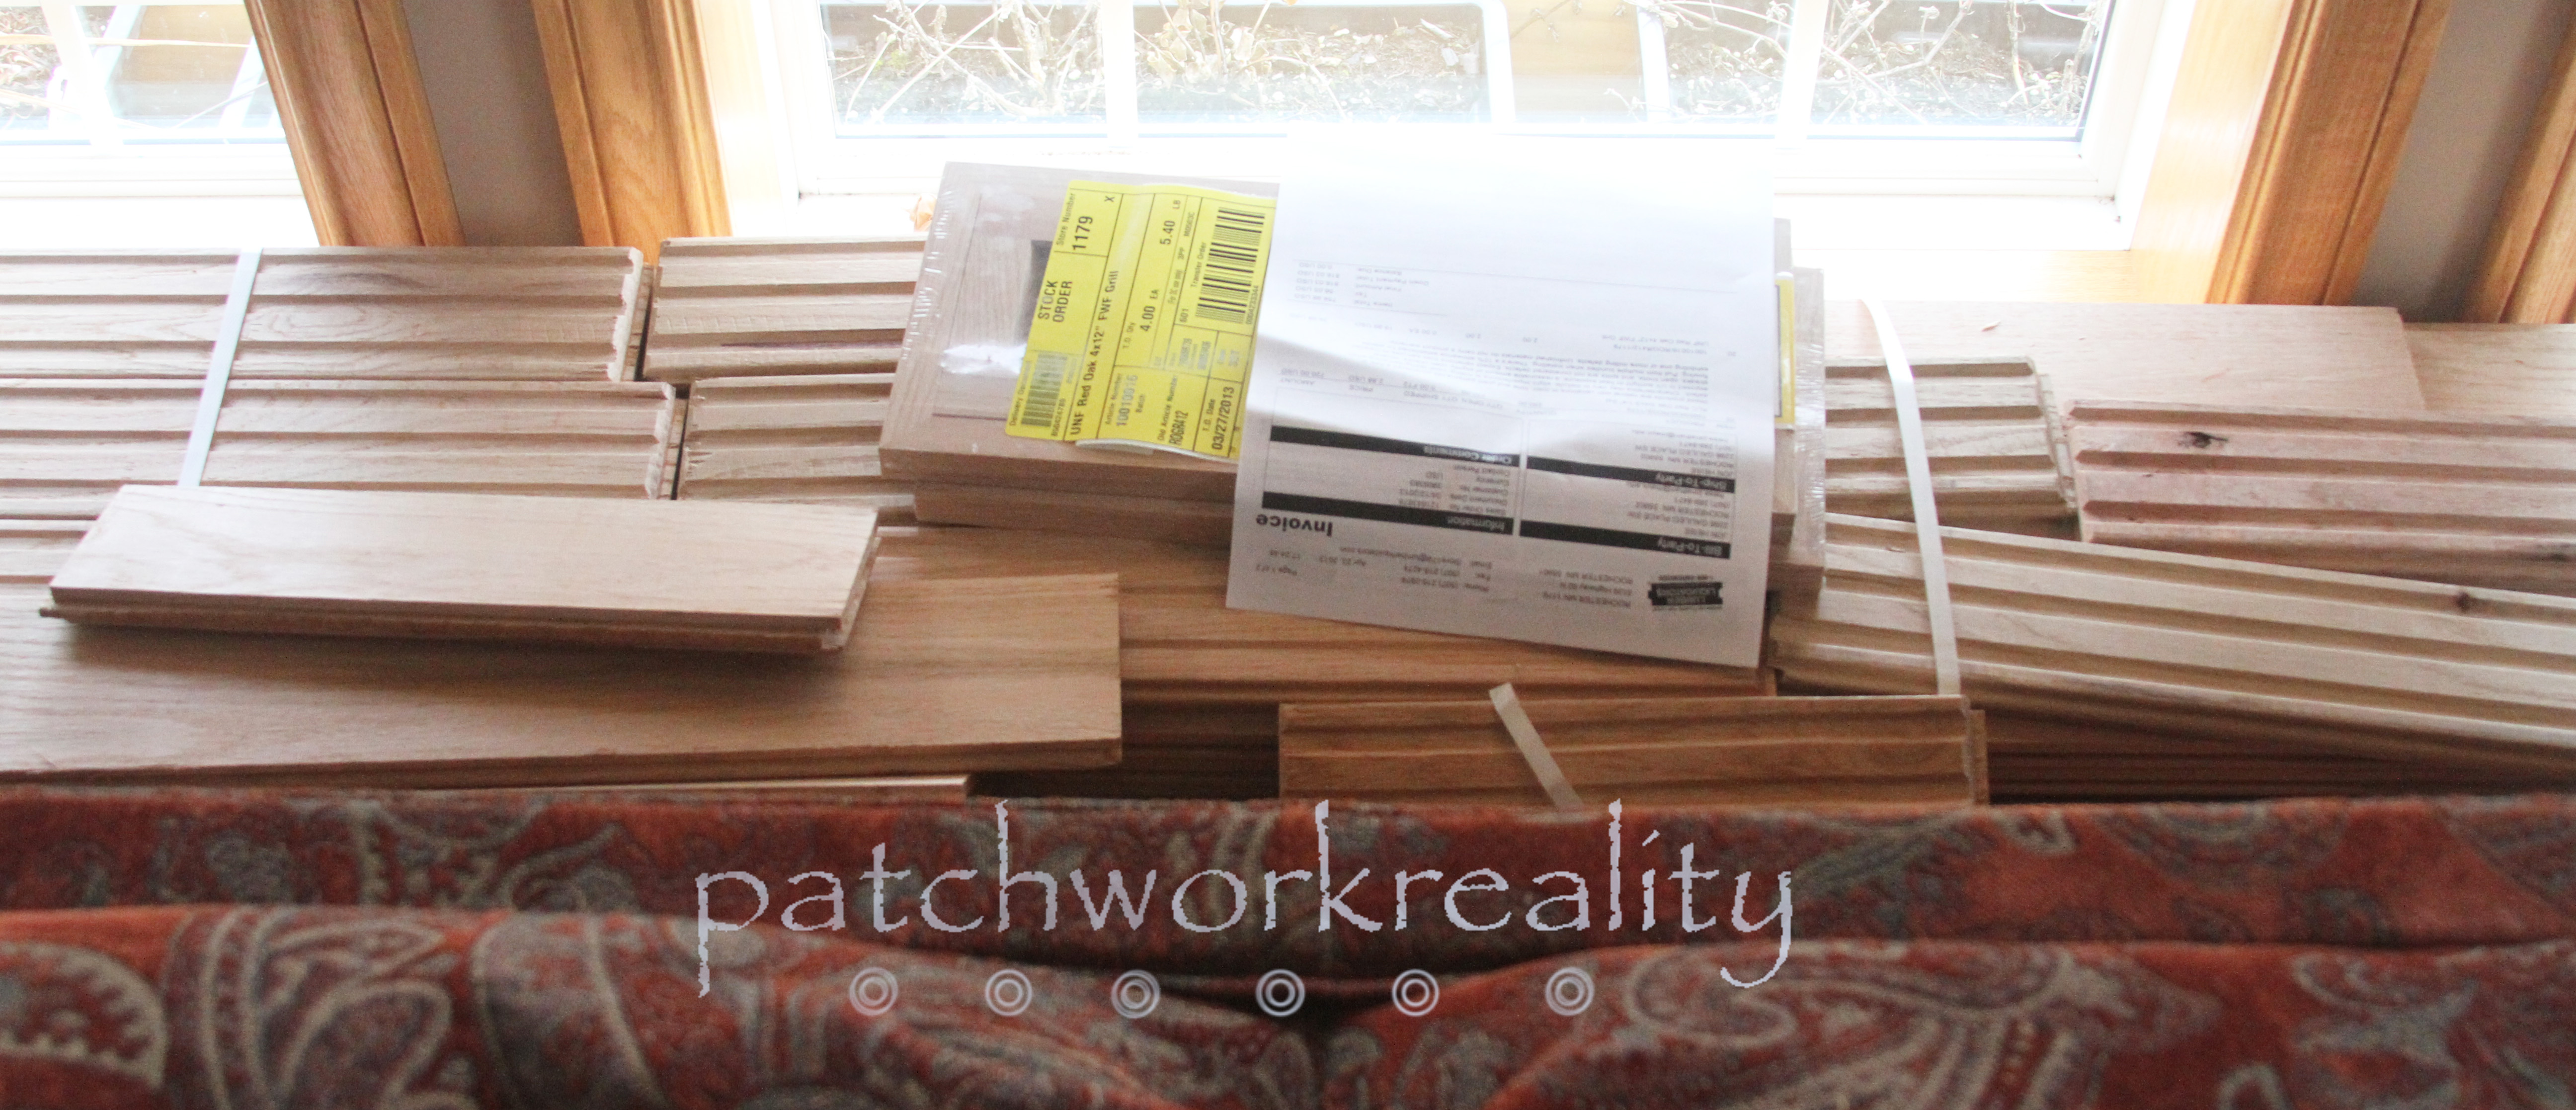
We let our wood acclimate to the house for a little more than 2 weeks, more than recommended but with all our crazy weather and rain we wanted to make sure it was not too humind, which can lead to gaps in flooring later.

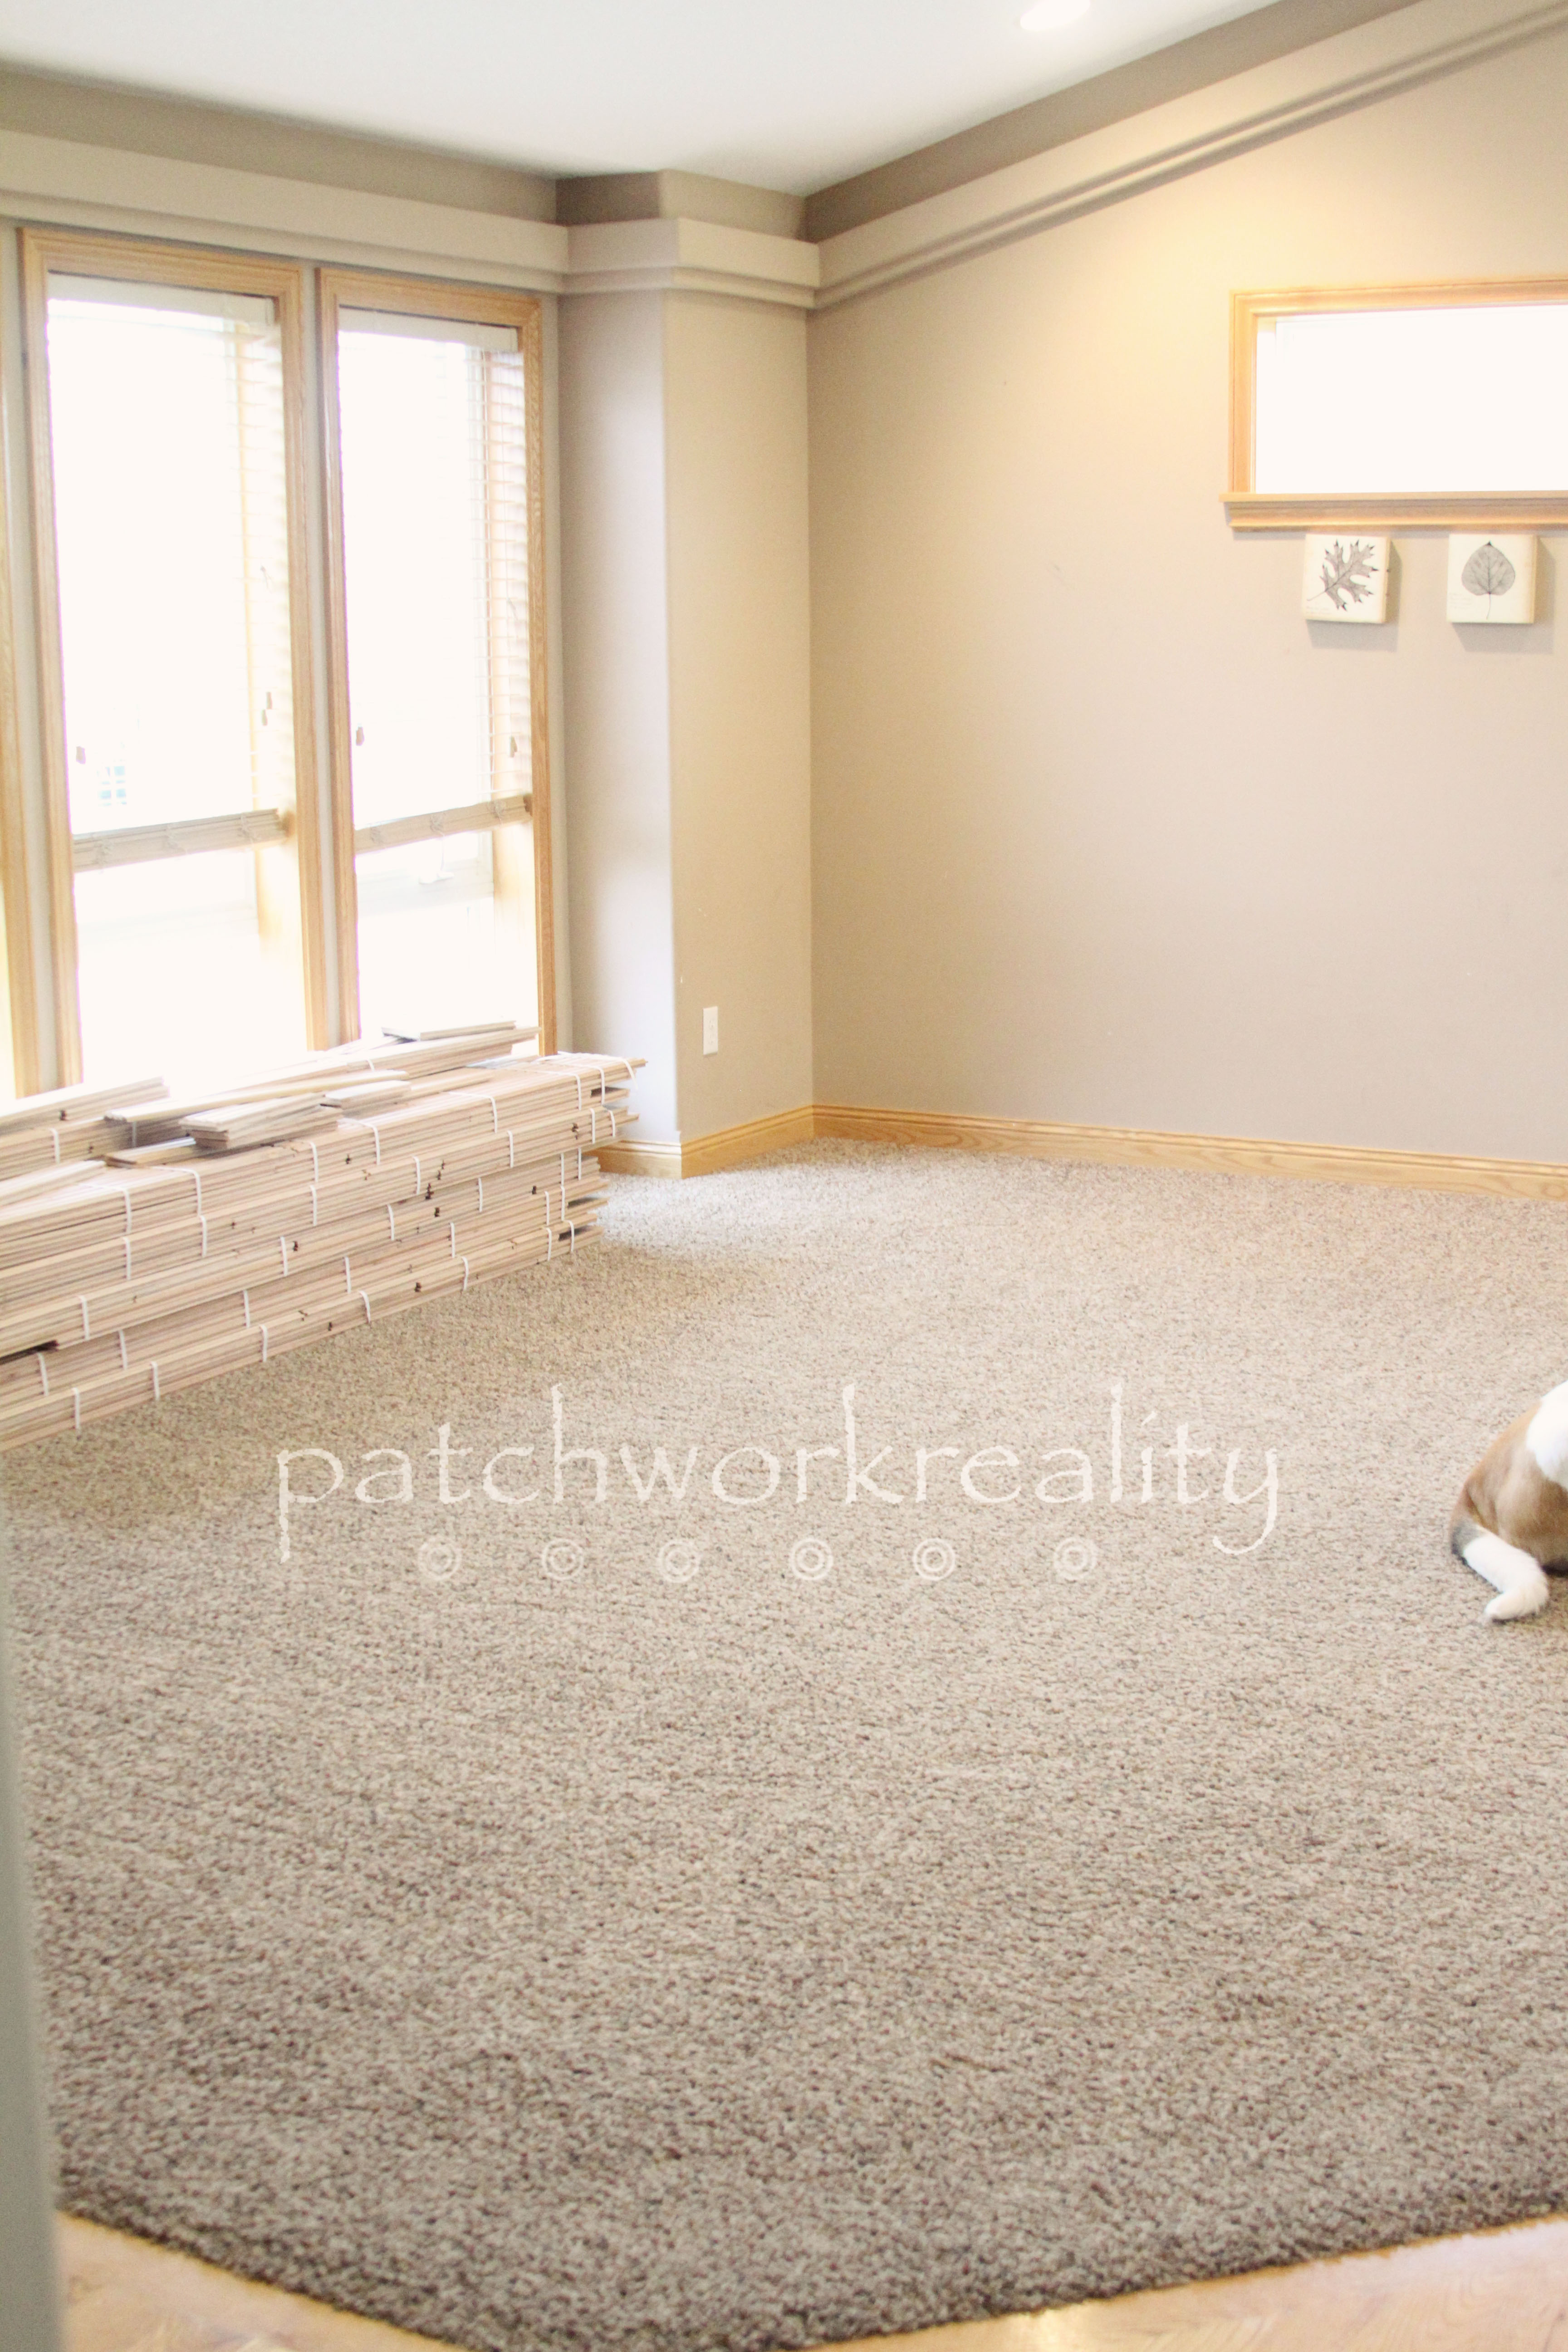
We tore out the carpet.  And by we , I mean Jon, Solomon and Avalon had it up when I brought the other 2 kiddos home from an activity one evening, I came home to them pulling up the tack strips, that held the carpet down, they rolled up the carpet and then rolled up the pad, the bottoms of both had some staining from juice and other spills, reaffirming our choice to go wood.

Carpet Tearout

This is the sandy stuff that was right at the seam of where the carpet had met our existing hardwood floors, I am thinking it is  a combination of,  well dirt and sand 😉  and the backing of the carpet that just sort of falls apart over time. Ick!

Carpet dust?

We cleaned the sub floor which was in excellent shape, it is only 7 years old, by vacuuming and a small warm water/soap spot clean where needed.

Then we laid down tar paper, as a sound and protection barrier between the sub floor and the oak.

Tar paper

Since we were installing this up to existing hardwood flooring we knew it was going to be fairly level but we double checked to make sure that the new pieces going in were level.  We also had to face nail in the first boards since there was a small trim piece that we had taken out and the tongue part of the connecting board was not there.  Face nailing means to nail it into place through the top of the board, we did this with small finish or trim nails and then filled the small holes with putty.

Then we set to work staggering our boards to make sure no board ended at the same spot, and nailed them in place.

After about 4 or 5 rows we would cover it with a red builders paper or rosin paper, to protect the unfinished wood.

When we got towards the end of the rows Jon would cut the last piece to fit exactly in place, this is where some real skills come into place, there will be a piece of oak corner round along the wall trim, but you need to make the end floor pieces fit as close to the space as possible.

Below you can see how we staggered the boards and covered them and toward the wall is where you can see boards would need to be cut to fit.

Floors

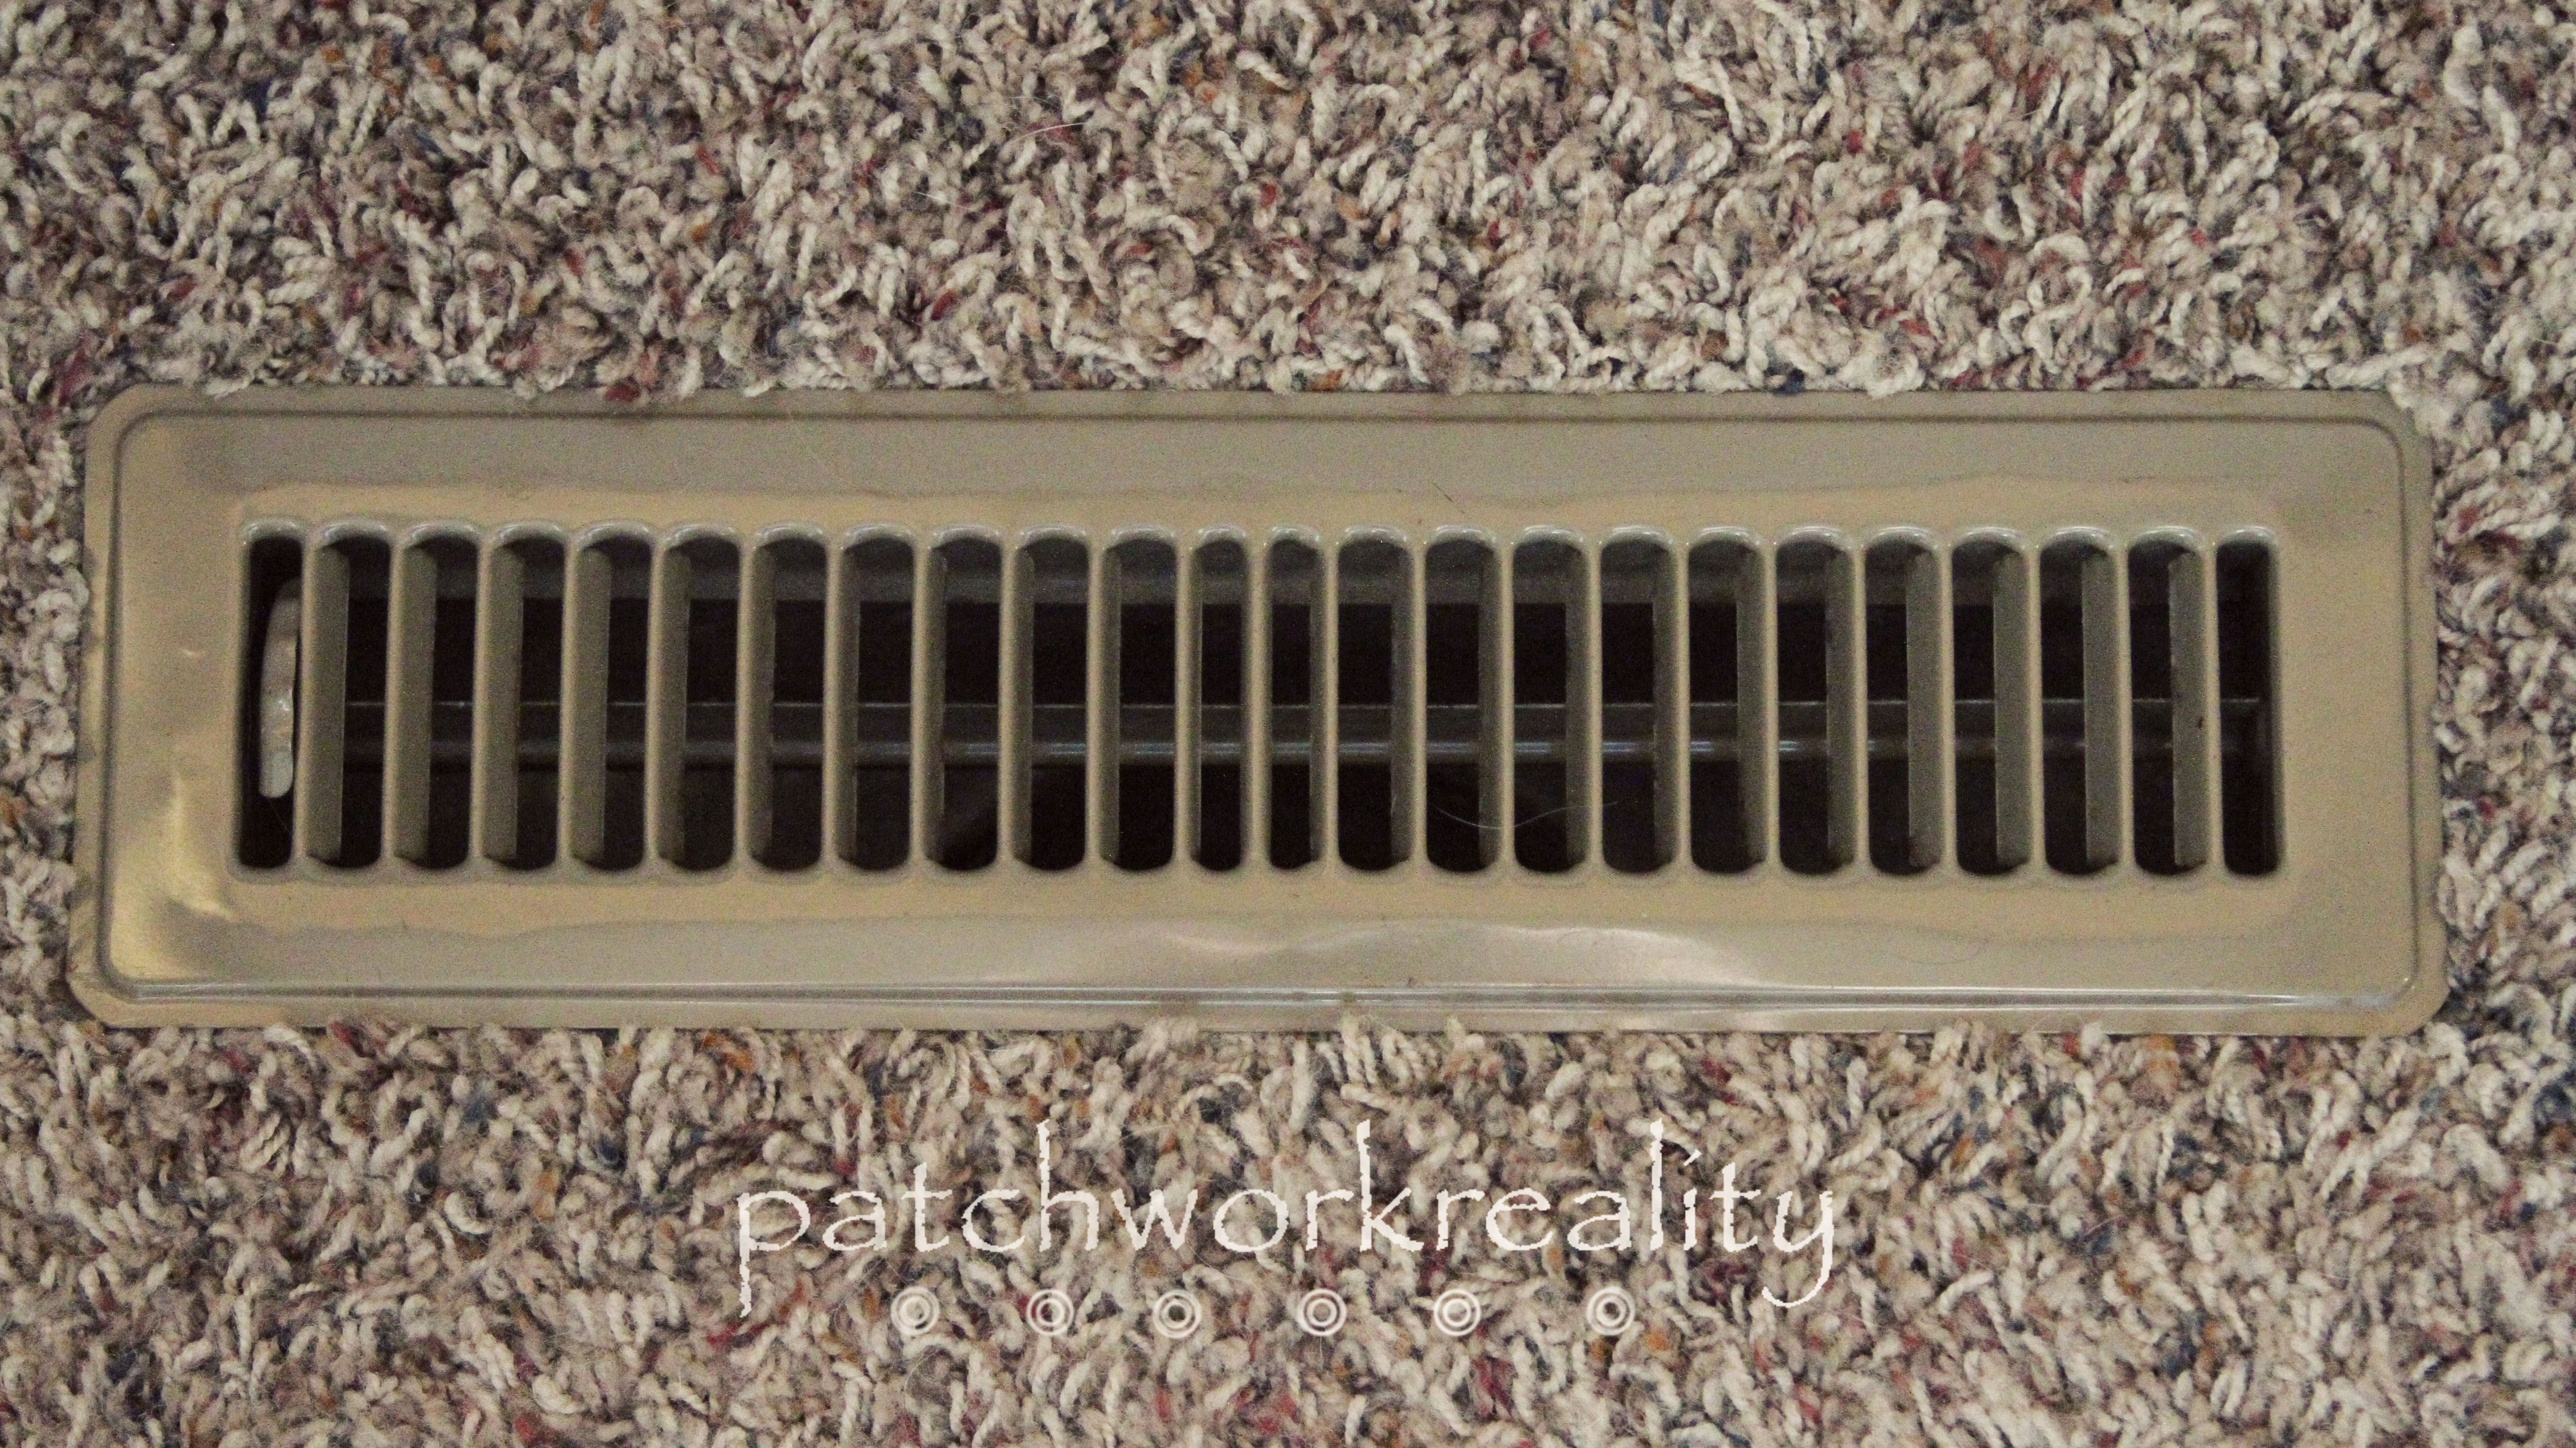
Also if you are taking out carpet to put in hardwood you may and you have a heating/cooling vent you might have to cut down the register if you are putting in wood grated with your flooring, I do not have pictures, but Jon cut our down easily with a sawsall, be careful when cutting the metal for sharp spots!

The last few board of the flooring have to be face nailed again, at least our were since the nail gun would not fit close to the walls.

After all the flooring was in we rented a sander from Menards, and they had 3-2-1 sanding pads for sale that fit the machine, 3 being coarse, 2 less coarse, and 1 the fine and final sand.  They did not think I would need the 3 but I brought it home anyway and I am glad I did because there were some spots that the wood was higher/lower and he 3 took care of this quickly, the 2 would have taken a long time.

Sander

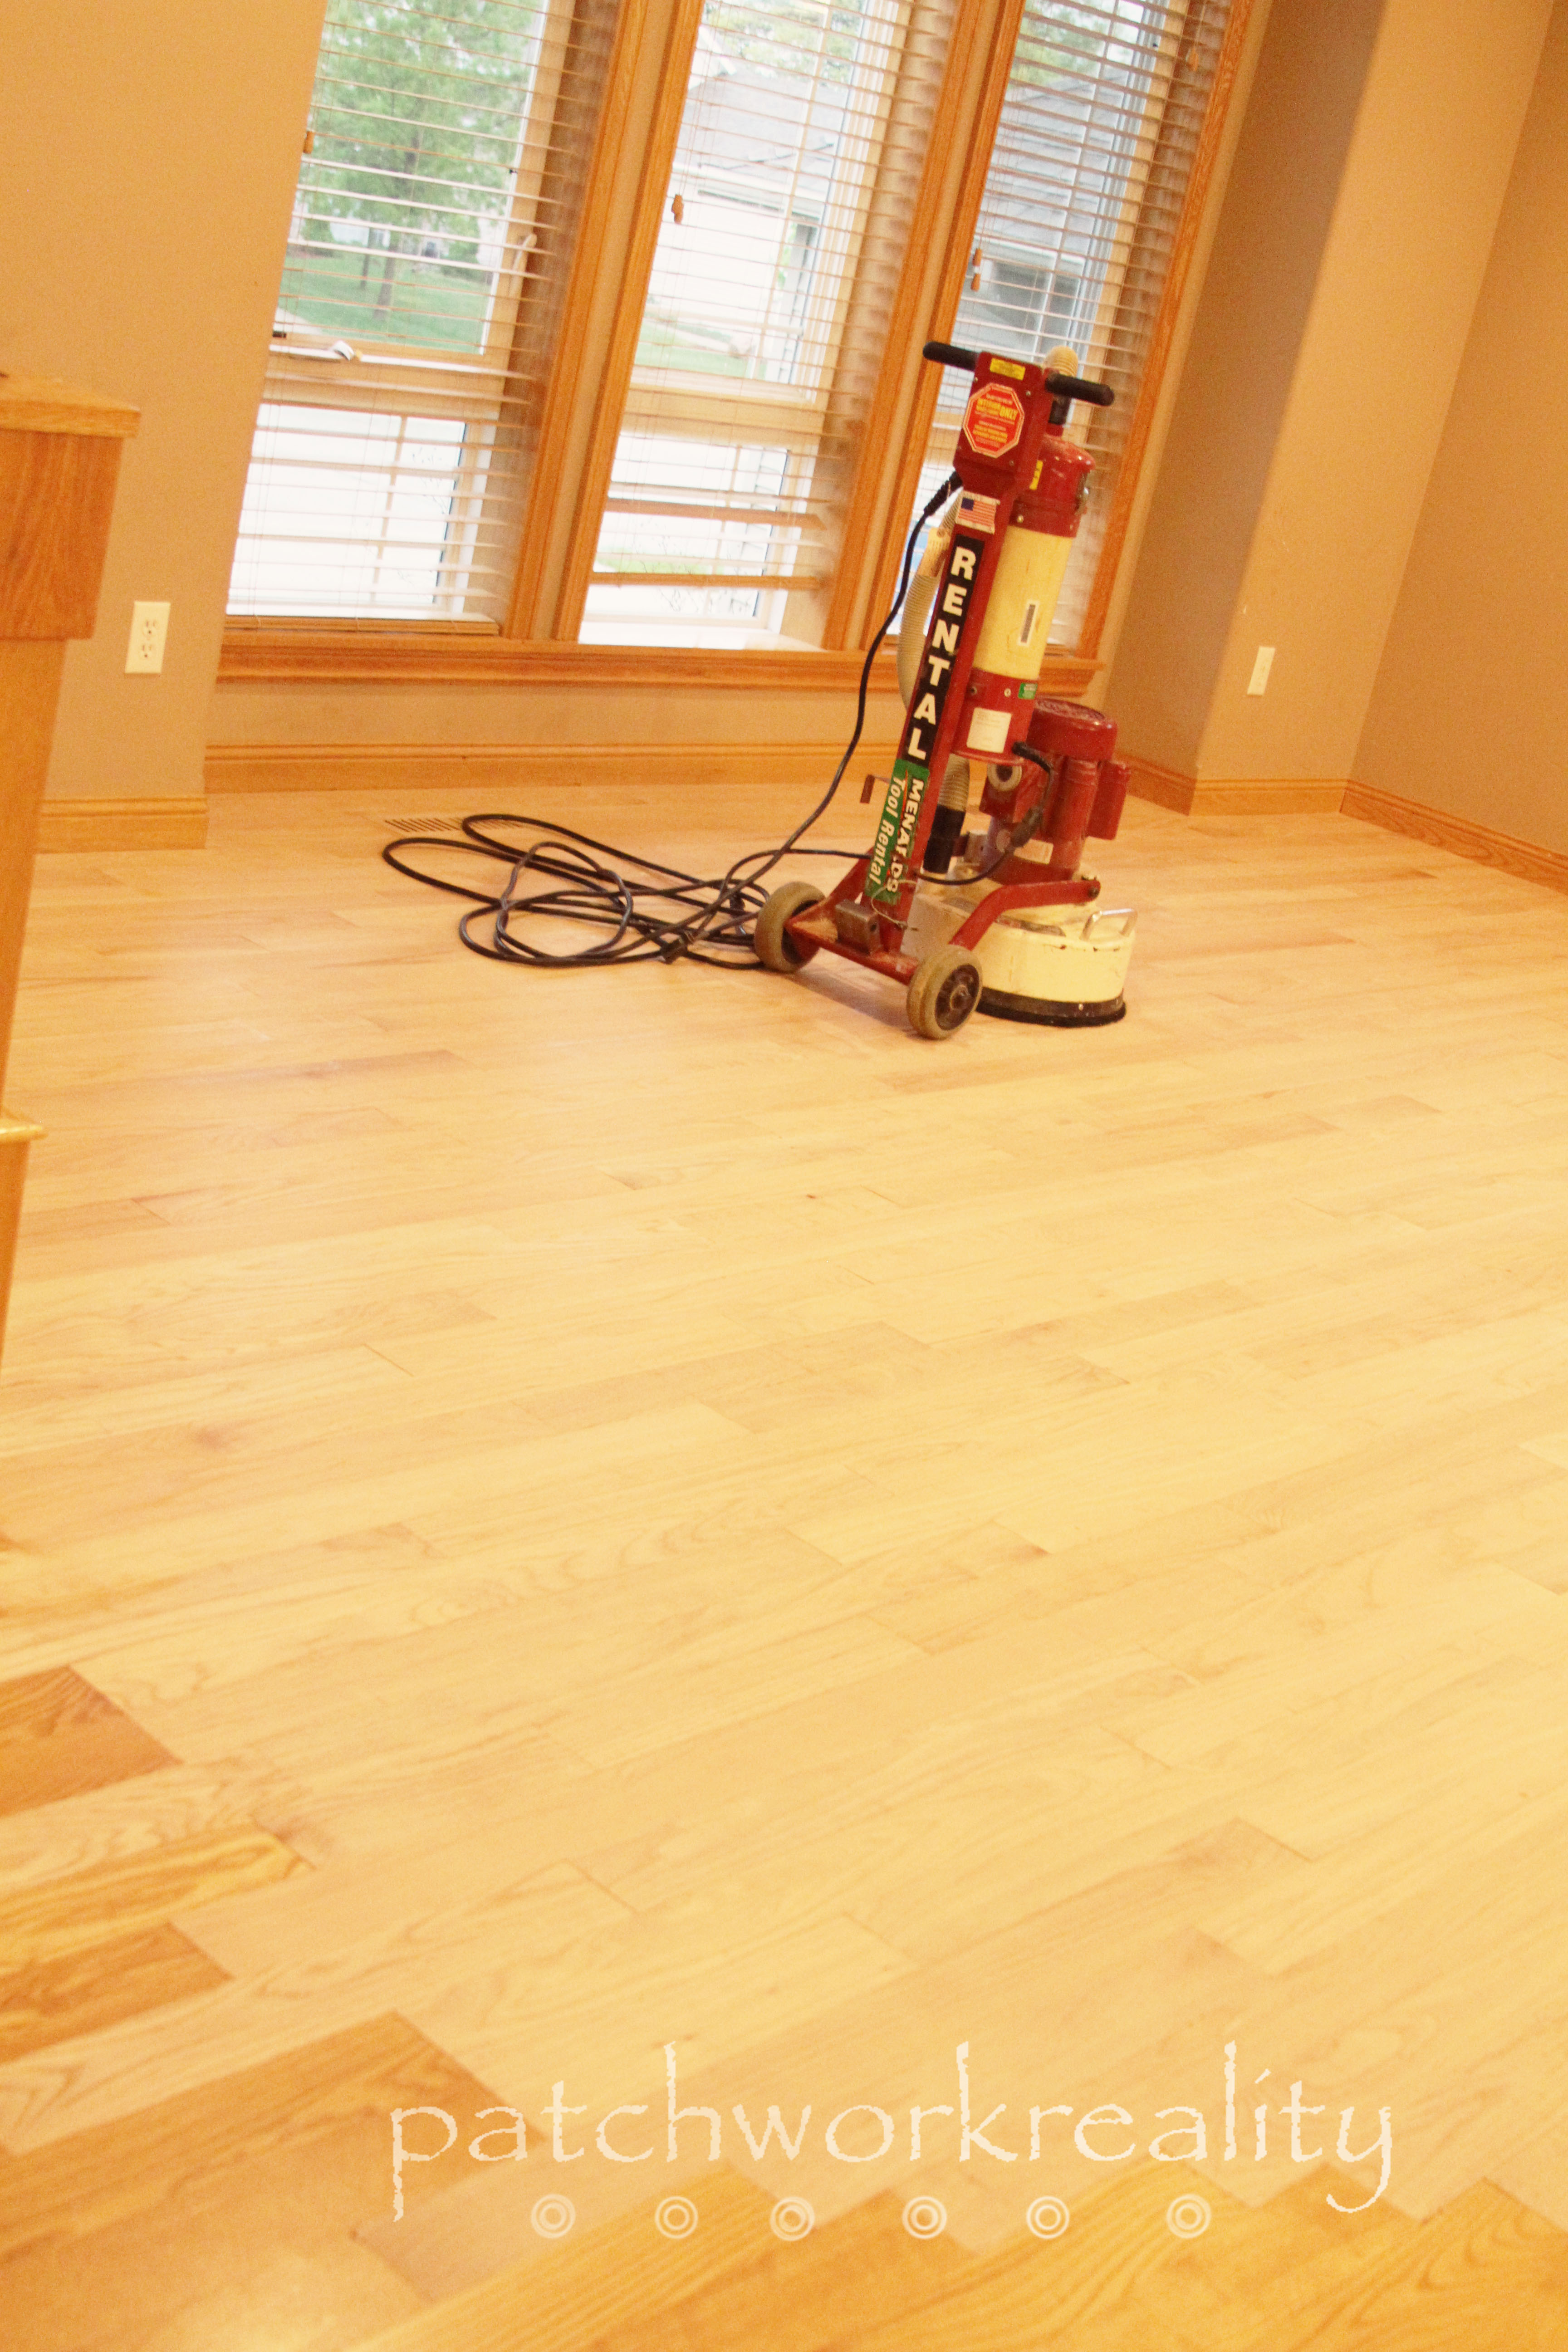
Once it was all sanded and smooth, we wiped the wood down with lightly damp clean rags, just enough to catch all the dust but not soak into the wood.

Oak Flooring

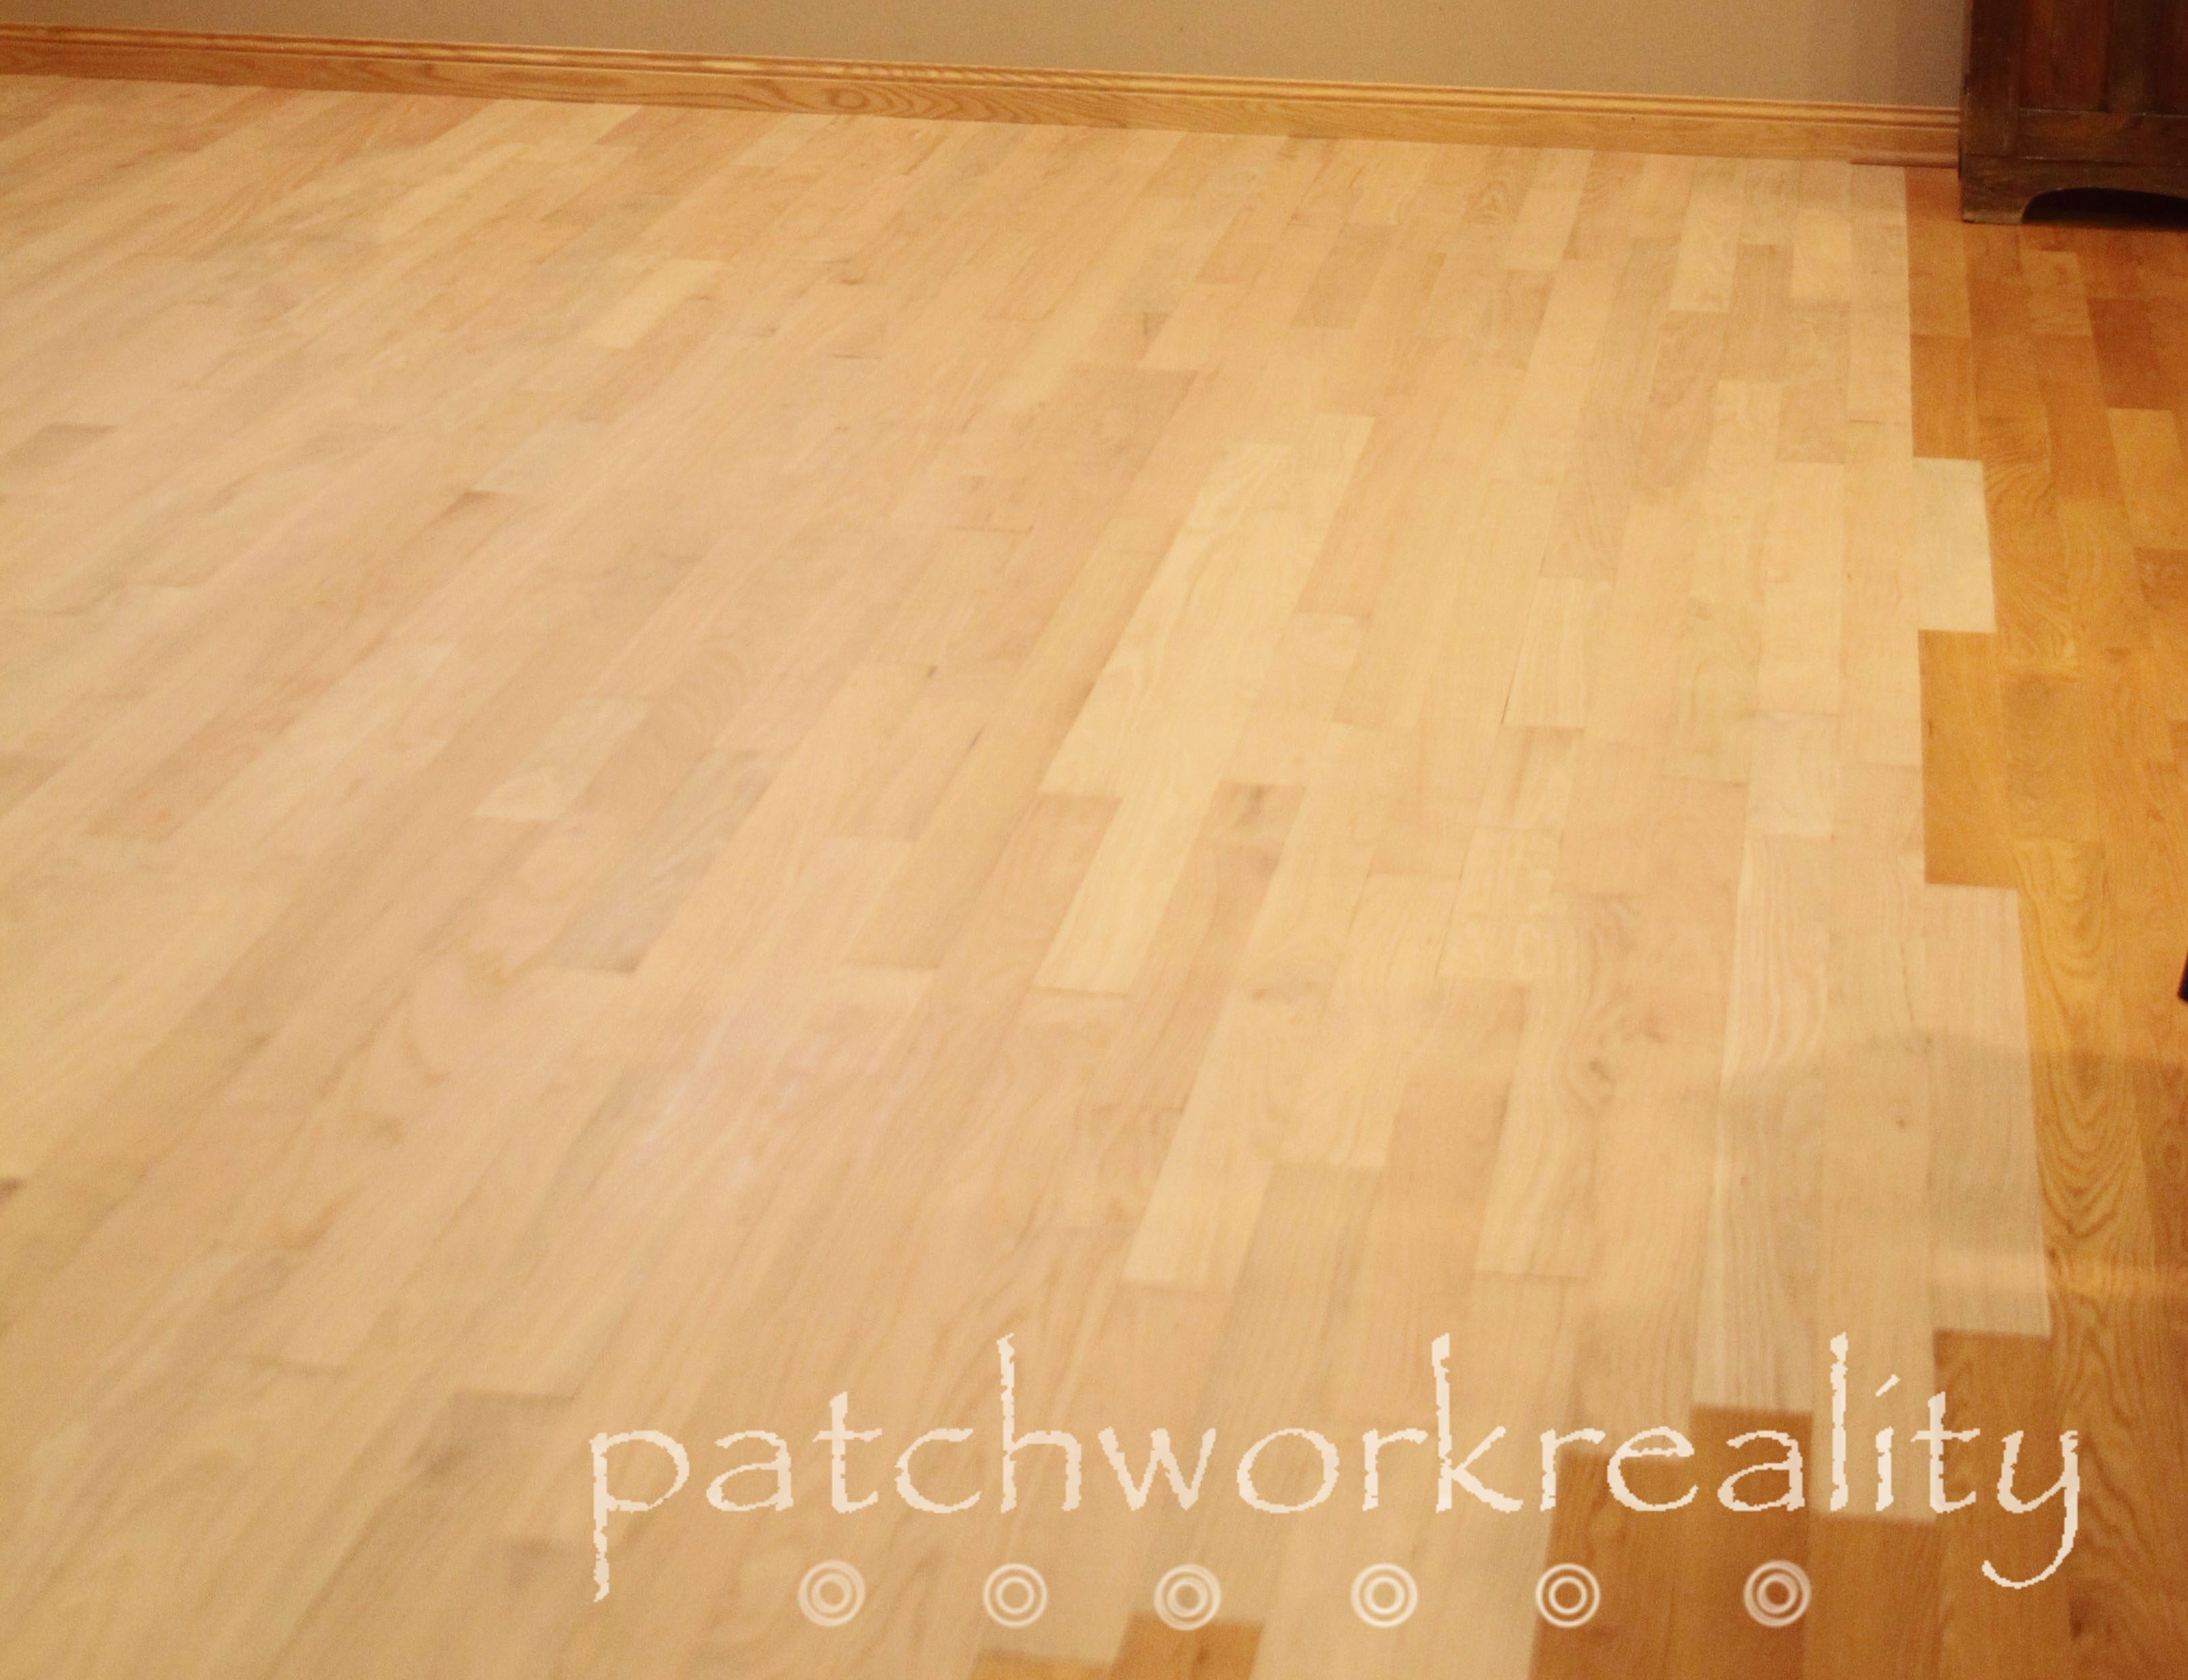
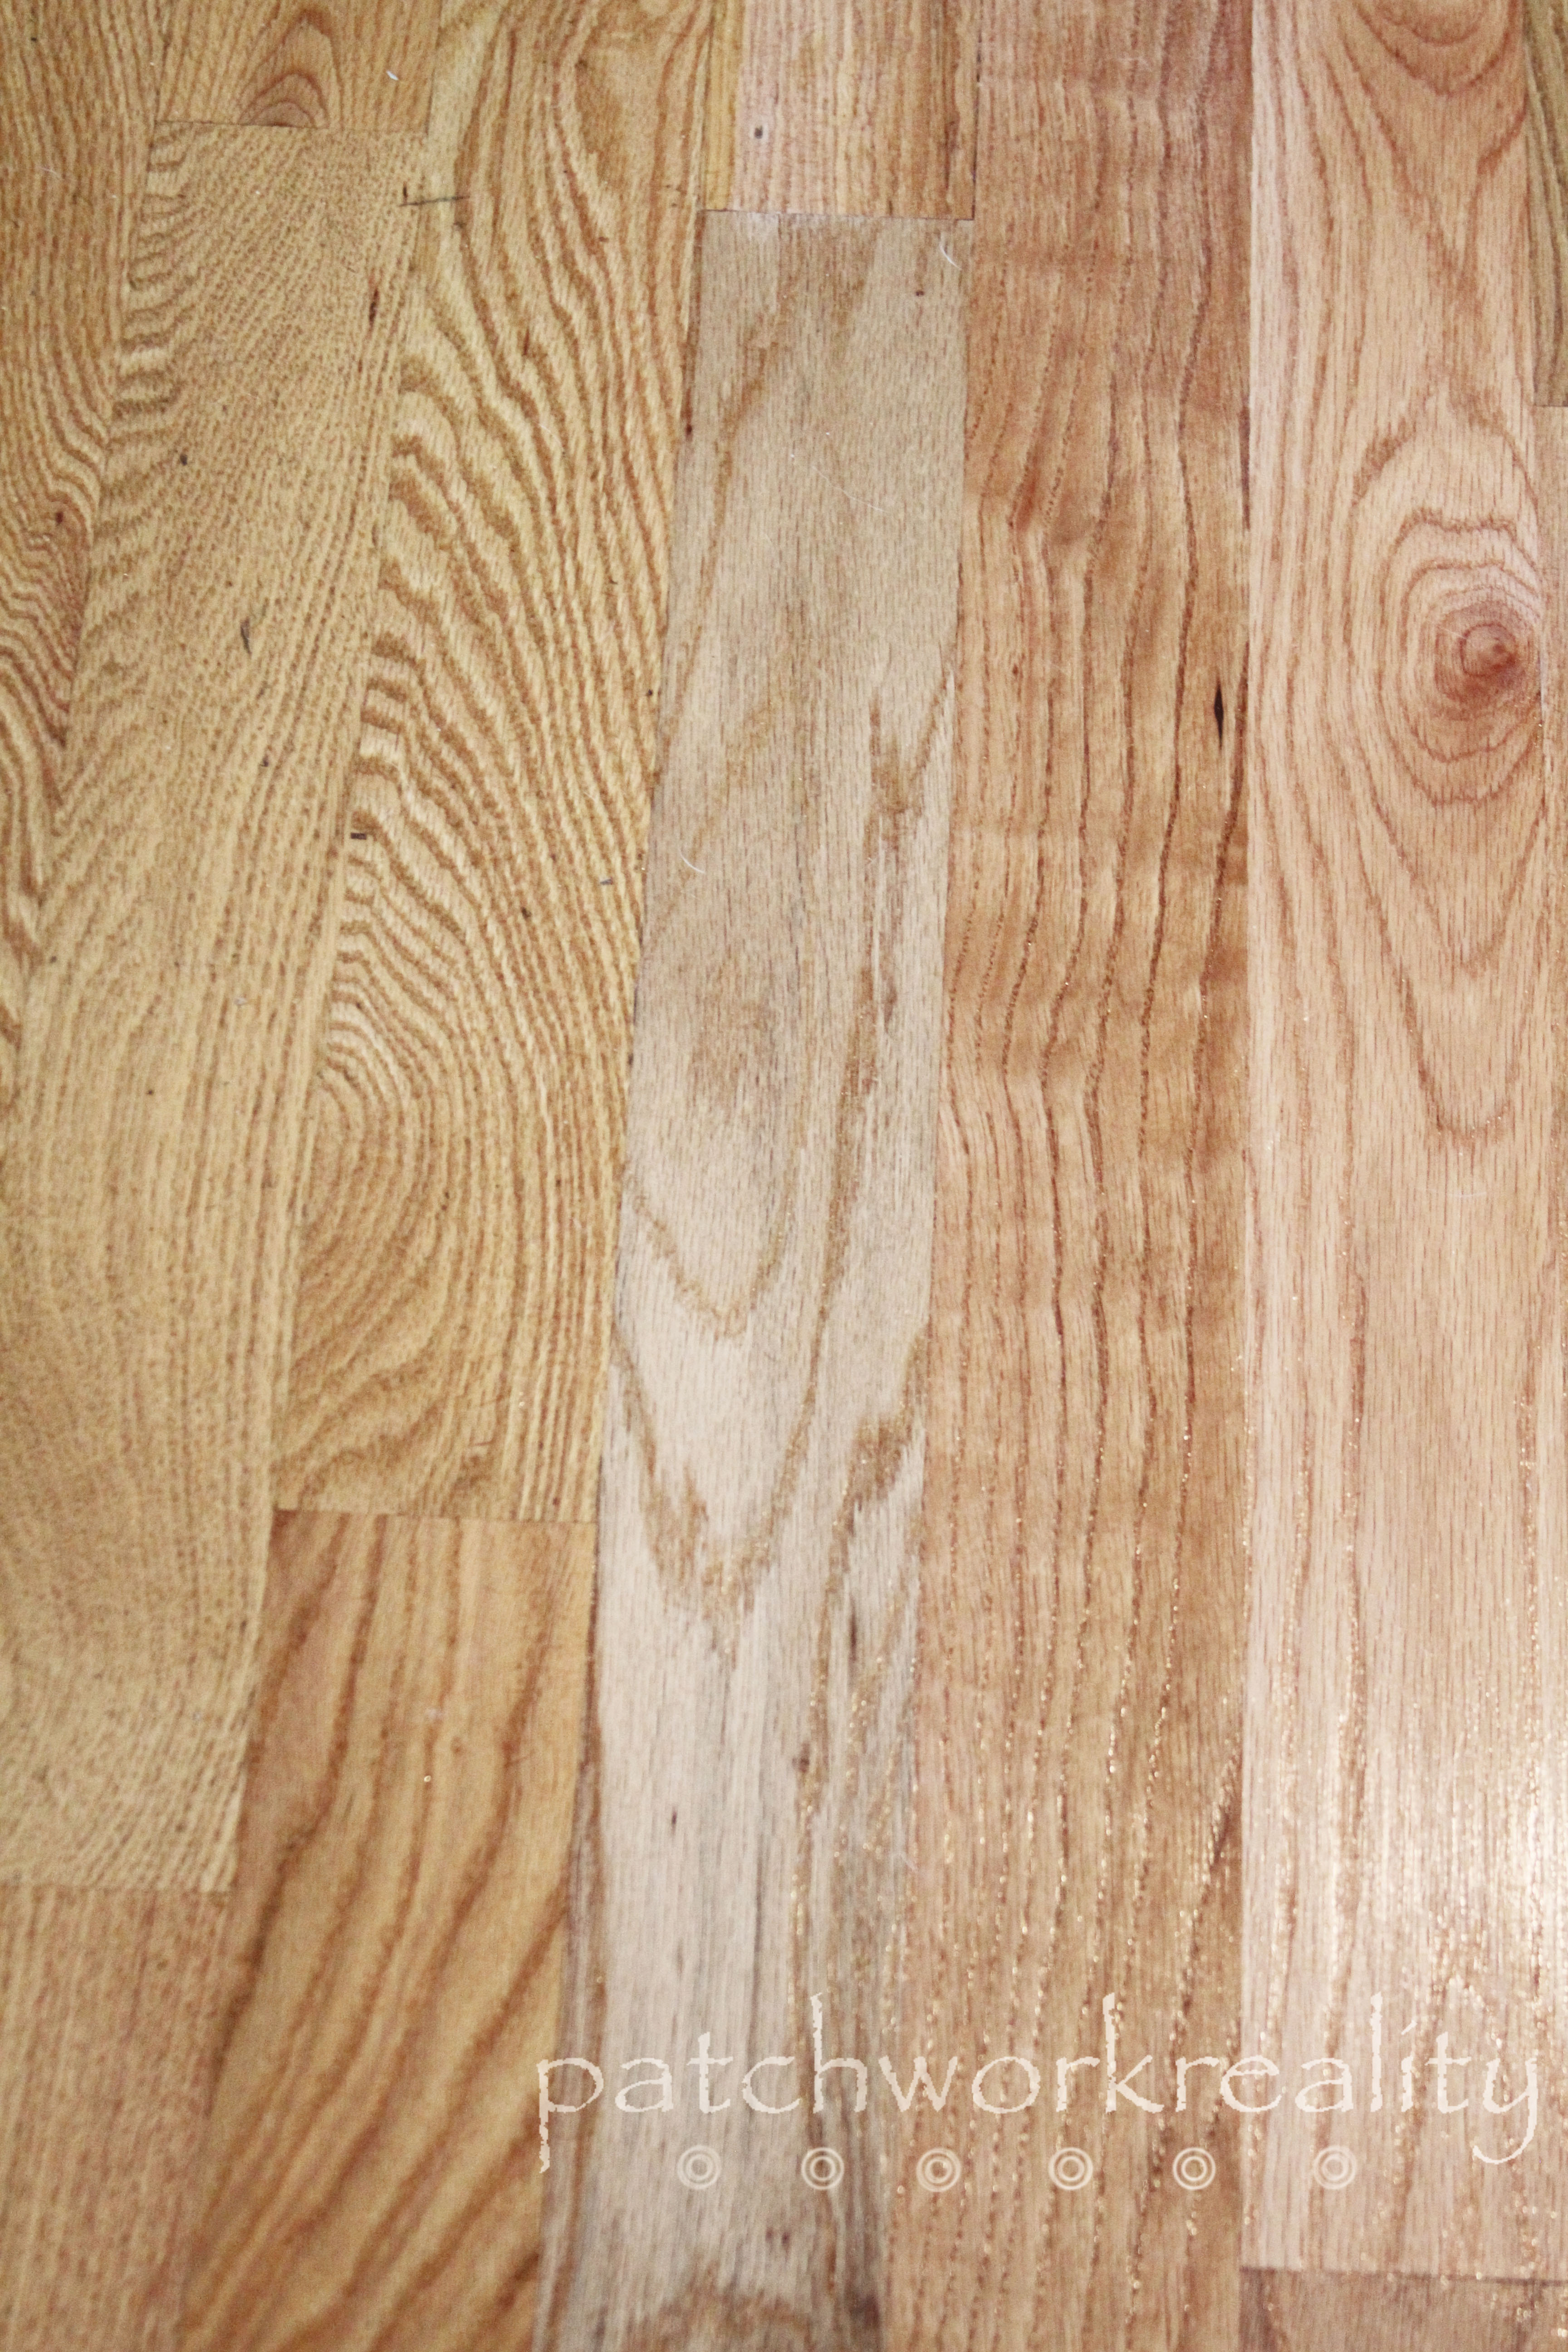
We let it dry and then did 4 coats of an oil based polyurethane.  The poly we chose was the one we thought best matched the existing floors.

2013 May 700

I think we got it right:

Oak Flooring

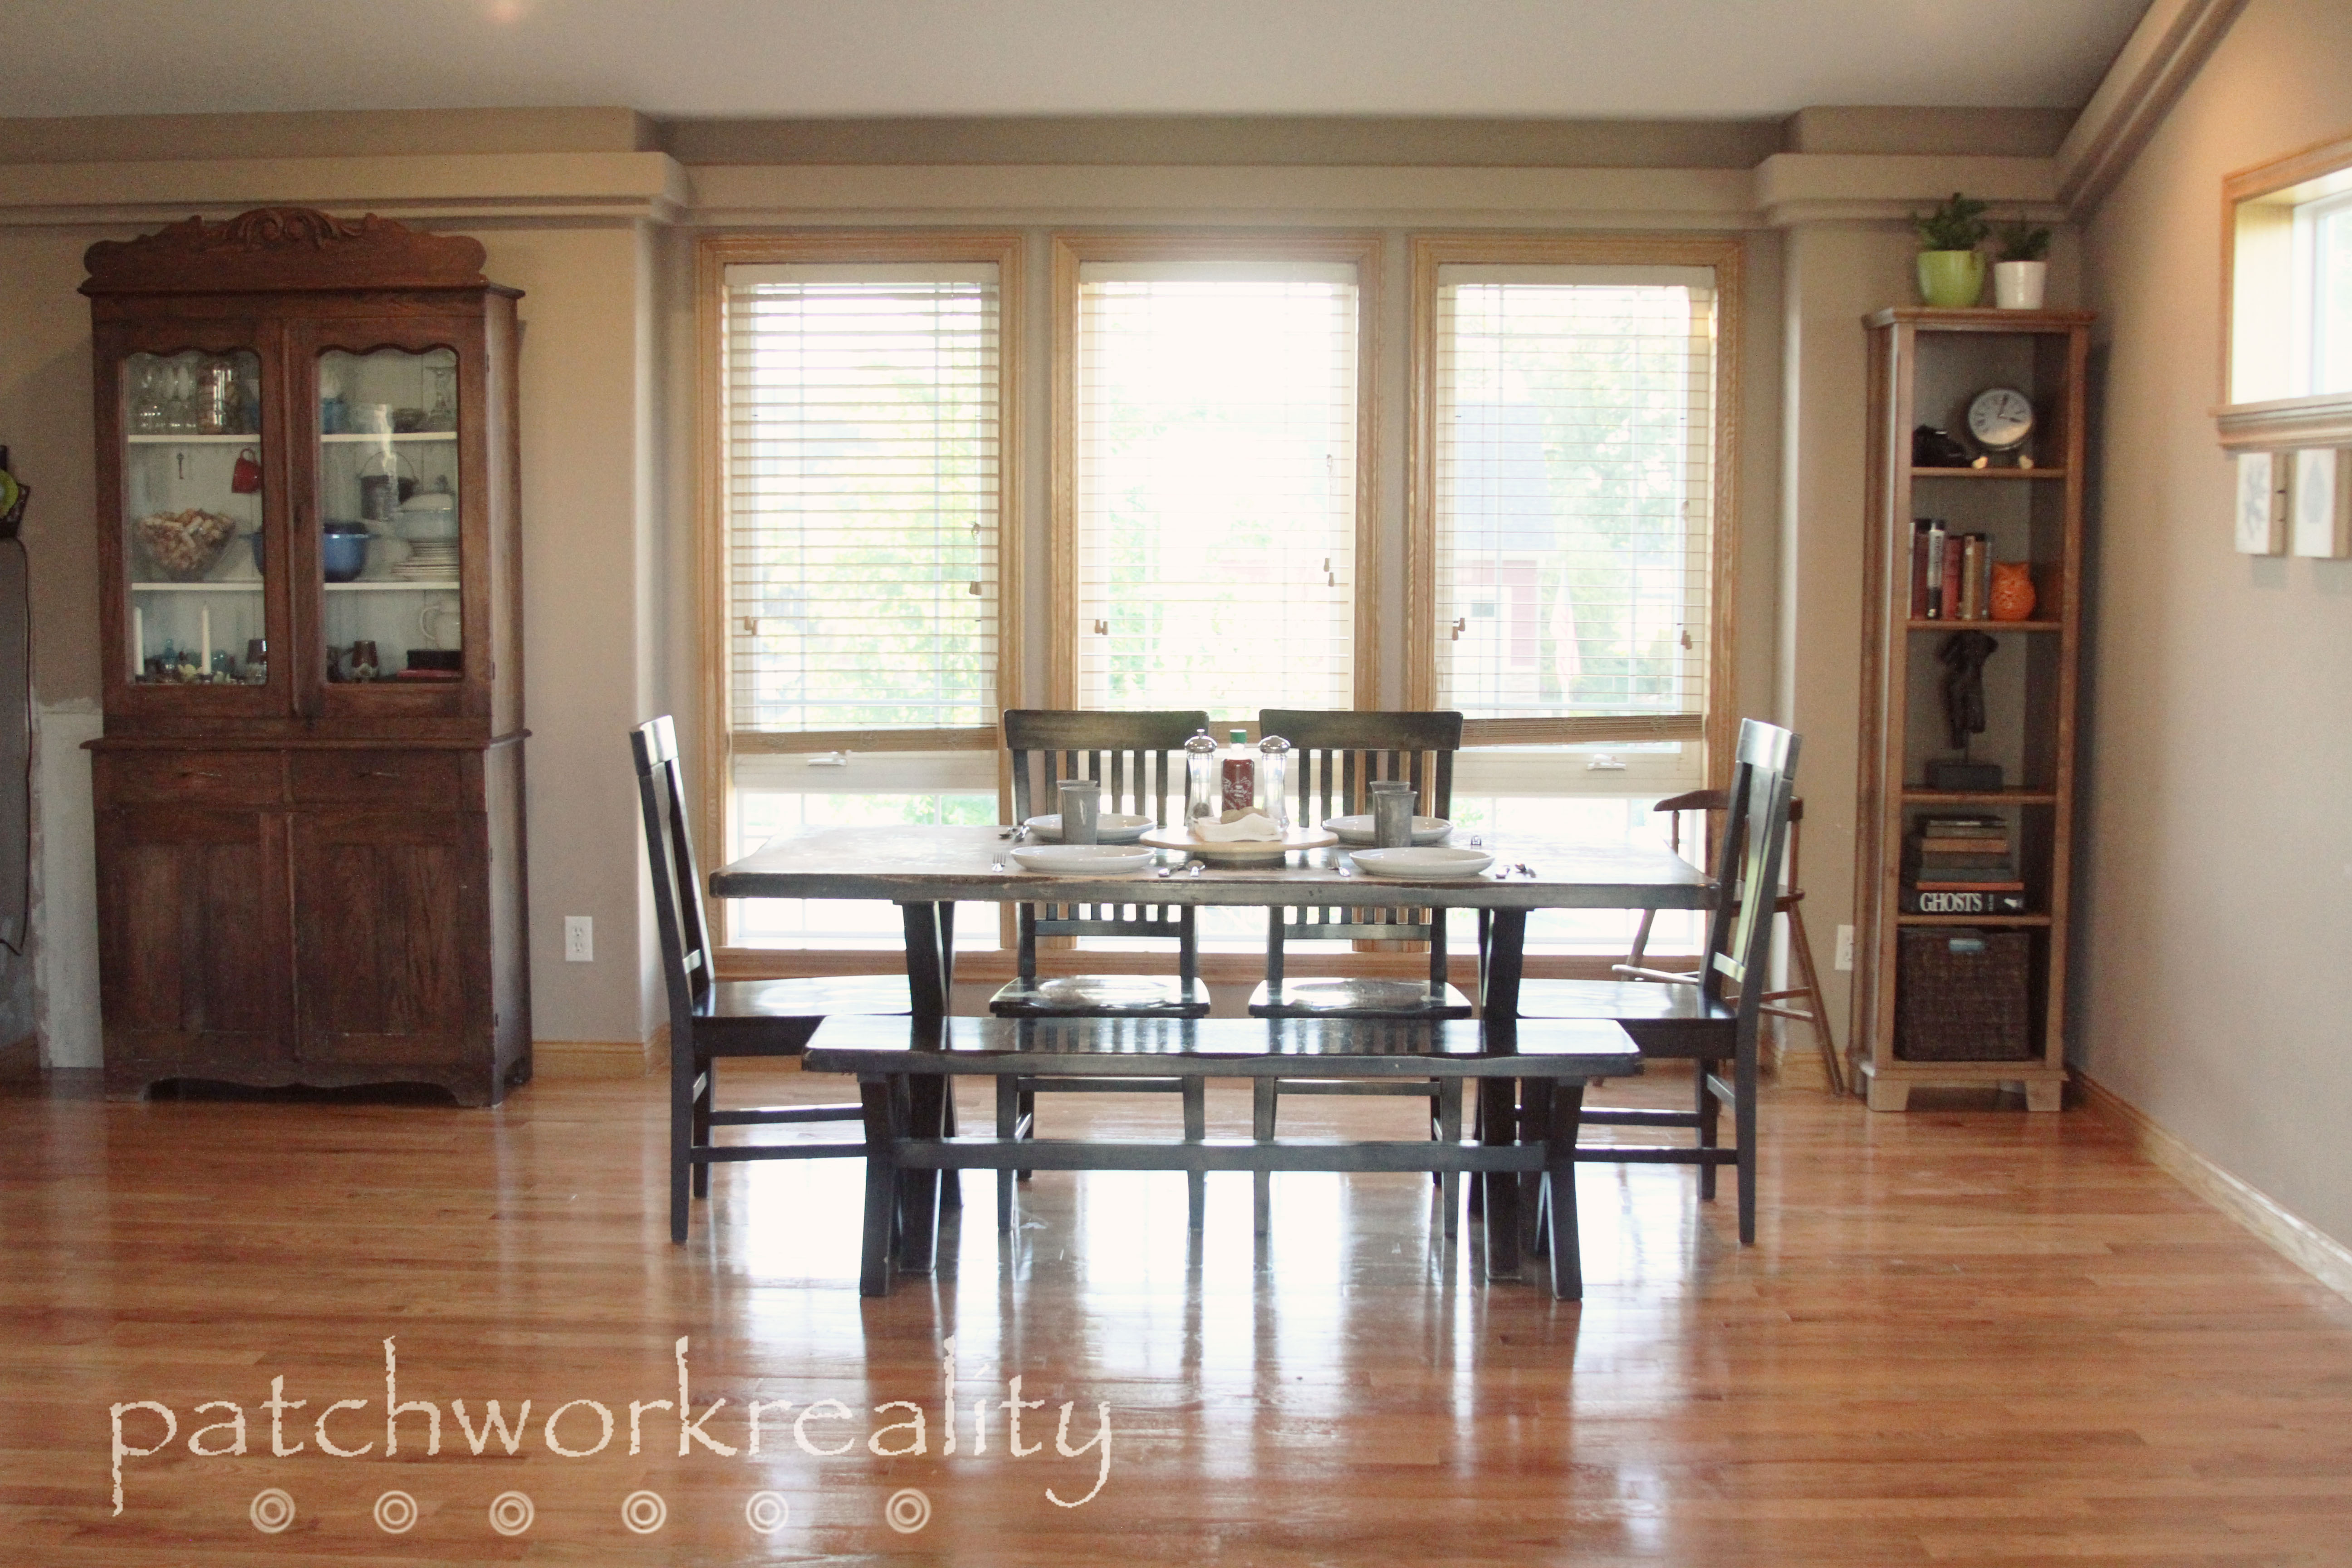
Again the before and after:

Living RoomOak Hardwood Floors

Tools used for this Oak floor DIY  project:

  • Hammer
  • Small crowbar
  • Screwdriver
  • Sawsall
  • Rented Orbital Sander
  • Painting wand and pad
  • Wood floor Nailer
  • Putty Knife
  • Level
  • Saw

Cost for this DIY Project:

  • Oak flooring and 2 registers:  $814.74
  • Disposal fee for old carpet and pad:  $25.00
  • Nailgun: Free (borrowed from my Dad)
  • Nails for the nailer: $25.92
  • Tar Paper and Rosin Paper: $7.45
  • Wood putty : Free (again we had this on hand)
  • Sander rental and 3-2-1 pads: $43.39
  • Polyurethane and painting pad( we used the handle we already had): $83.05
  • Tools: Free (we had all of them on hand from other projects)
  • Labor: Free 🙂

This project totals : $999.55

Just under a G, bids on this were around $2500.!!  We saved over 1/2 by DIYing this floor and we LOVE it!!

It did take most of Memeorial weekend, but that included many interruptions from those that are now pitter pattering around on this beautiful floor.

So I think most could be this done in a weekend but each coat of poly needs about 3 hours between them, so if you did more than 4 coats it will add time to the job.

Shiny Happy Floors

I am going to get right to it…our new floor:

Oak Hardwood Floors

Now if you have been here all along you might also notice that something else changed…

Lets review shall we?

Here is the before of this space, after we moved out our furniture:

2013 May 418 copy

Previously we were using this as a living room

2011 June 1819 copy

But we traded out this:

2013 June 174 copy

For this:

2013 June 171 copy

And this:

2013 May 415

For this:

2013 June 170 copy

We did a living room dining room flip, I love that our new flooring goes throughout the whole space, the carpet always left us feeling like we needed furniture on one side or the other…don’t cross the line!!

This was a complete DIY project, it took us one long rainy plus weekend and it was about 300 square feet.  Cost and details are coming.

Plus we built a new Master Bedroom headboard for FREE!

Stay Tuned!

And if you see carpet be gentle, she took the break up hard, but she was good to us for almost 7 years, trustworthy,  and loyal, but she had secrets; hid too many things, we needed a smooth shiny new floor, one that wouldn’t hide spills…it was us, not her…you know.

Wormin’

Not sure what yours was like, but our Memorial Day Weekend was R-A-I-N-Y!!Which actually worked out perfectly because instead of working in the yard, we ripped out our carpet and installed that hardwood flooring we bought earlier this month.
It is still raining, not all day but most, I can’t tell you how many sports practices the kids have missed due to rain.. and snow…in May. Weather is not my area, but I am thinking this is strange.
Solomon’s class is going on an end of year tour of a local fish hatchery and then they get to fish for few hours, before Jon left for work he suggested he go out a gather some of the worms that are crawling all over to use as bait.
No need to tell him twice, this boy was born a naturalist, one hand in the dirt , one foot in the water and both eyes in a book, taking in all the information he can gather.
Best part is: he includes and teaches his sisters.
So him and Raiven set our with a shovel, a bucket, slickers and boots..I did some of this:

2013 May 689 copy

But caught them on their way home.

I always wonder what the conversation topic is.

2013 May 723 copy

The orange in his hand is a candy package he found and brought home to throw away, this is something I have done with him since before he could walk, I would pick up recyclables and garbage on walks and hikes and bring it home.

They also found this guy:

2013 May 733 copy

A bucket full o’ bait:

2013 May 734 copy

And picked a few up from the path on the way home:

2013 May 740 copy

I am eager to show you our new floor, it looks amazing, but these moments are way more fun to share.

Rollin’ in a Palomino..

Little Vanilla Ice lyrical redo lead in and … drum rolll….

Guess whose family will not be attacked by rabid raccoons or stuck  laying on our half deflated air mattresses looking at the tent ceiling this summer?

Mine!  That’s right we went all out and bought a pop up camper, but not just  any pop up camper, this one has hard sides, which is very cool.  Not sure if they are hard to find or not, but we went to a neighboring state to get this baby:

p 1

As for rabid raccoons and rain storms, both are true.  Last year on our annual “gypsy trot” summer family vacation we encountered 2 days or torrential rain in Ludington, MI, which is an amazing beautiful quaint little town.  Imagine all 6 of  us in our 2 room “deluxe” tent laying on air mattresses, some that were really failing to hold their air, trying not to touch the walls for fear that water might leak in.

Now if we are caught in the rain I imagine that we can at least sit or stand *gasp* and play games and enjoy the storm.

p 3

This camper has a King size bed on one end, and a queen size bed on the other end, the table folds down and becomes a bed as well.  plenty of room for all of us. We looked at quite a few campers on Craigslist before deciding on this one, and with Jon’s height 6’2″ and the size of our family we decided this platform was going to be the best for our family.  There are quite a few that are a little smaller with a queen on one side and a full on the other, most have the fold down table option.

p 4

King

p3

Queen

p5

Table turned into bed.

this also has air-conditioning and heating, a shower, which I do not think we will use, and a potty!!!  No more late night running through th campground to pee.  This was not on our must have list but it is a nice option to have.  This is a hinged lid that lifts up and viola, potty.

p6

In all honesty I would LOVE…LOVE to find an old airstream, we almost bought one once 3-4 years ago, but it needed a lot of work.  there was also a pop up for sale while we were looking that had a that nice 70’s orange stove and sink, the vintage spoke to me, but it had the smaller bed platform.

So we have stainless which I really like as well.

p 2

I am hoping to whip out my handy Singer machine and sew some new curtains and valance to retro this out a little bit.

I might even paint the cabinets, and definitely I have to replace the gold handles and hinges….not a fan of gold much.  Oooh and maybe a name?!?!

So there it is, the new camper on the block.  We are really excited to gypsy around in it!

Super Sib Cape – Birthday Gift

Santanna’s best friend has an older sister, who is battling a brain tumor with all the energy she can muster. I know I have briefly written about this before, and I ran my last marathon for team Ana.

Elsa and Santanna have an extremely special bond. We are a place that E can come and escape some of the burden of chemo and pills and sadness that is detected even when I am sure it is trying not to show itself. She is a “super sib” and has been praised as that in many aspects and events. Not enough in the shadow of cancer, but she knows she is loved and valued.

Santanna and Elsa have know each other since they were 3 and now that they are both just turning 6, that is like forever!

All Elsa wanted for her birthday according to her mom was Santanna.

What do you give as a gift to a girl who adamantly prays for a cure for her sister’s cancer? For normalcy?

I can’t tell you….

But we did make her a super E cape, a reminder that she is amazing and wonderful, and as many other little girls would love…one for her American Girl Doll.

It was really an easy project, and E loved it!!

Here is Tanna modeling it with our own AG doll  Lucy:

2013 May 025 copy

If you have it in you, whatever your persuasion or belief, even though you do not know their family, will you please take a moment and use your heart to give a beat for Ana.  They really are an amazing family.  I know they will feel and appreciate it.

Upcycled Jewelery Oraganization

Is it May already…and almost 1/3 over. I am still pushing foward on the NYR to become more oranginzed.

Organization in our house is a constant battle, a good one, but hard-fought non the less.

With 3 girls, the princess accessories are at an all time high, but I am sure it is just the tip of the iceberg.

At her recent campout birthday party, Raiven received a few new special accessories, she has pierced easr, has been acquiring necklaces and bracelets from relatives and friends, and thrifting. Until this project she was hanging them on a wooden drawing doll, is that what it is called?

I accidentally deleted a whole card full of photos…ugh! So the before shots are none existent..but here is what we did:

I had 2 black picture frames that were thrifted or the glass has brokern out of, I was tired of tripping over them but knew I would find a use from them….eventually.

When I saw this I decided to upcycle the old frames to organize our oldest daughters jewelry.

We spray painted them in Raiven’s color choice.

Then Hubby cut, he is the type A to my relaxed type B, and attached chicken wire to the frame.

He attached them to the wall with hallow all sinkers, since they were not on a stud, we wanted them securely in place.

2013 May 058 copy

WE added these hooks to the chicken wire, we crimped the top set closed so they are fixed in place, but we left the others uncrimped so she can move them around as she likes.  These are from Menards, but I am sure any hardware store has them.

2013 May 059

The other side we did not put any hook on, we left this one for earrings so she can just loop them over the wire.

2013 May 055 copy

I made the yellow beautiful art on her wall, inspired by one I saw on Zulily.

She is thrilled with this new addition to her room, and is really lets her showcase all the special jewelery she has, as most of it has been gifts.  It also gives her the independence to choose what she wants to wear and gives her the ability to easily care for her special jewelry.

2013 May 050 copy

This Cake is on Fi-yah!!

Raiven just celebrated her 9th birthday.

We chose to have it at our house and she was allowed to invite up to 9 girls, including her self to spend the night.

All but one was able to spend the night, they all came and played, made a craft and had cake and ice cream.

We are big campers at our house so we set the tent up, since there was still 6 inches of snow outside, in the base ment, for the girls to sleep in.  In nice weather we would have set it up outside.

After seeing this cake:

Credit: Amam Cara…Cakedecorating website

Hubby and I decided to do our own take on a bonfire cake:

Here are the ingredients:

2013 May 160 copy

Cake mix of your choice, along with ingredients needed to make cake, which may vary.

Pam or non stick spray.

Pirouette cookies.

Hard butterscotch and cinnamon candies, at least 25 of each

Here is how we did it, as always feel free to do what you like and works best for you.

Bake cake according to directions on the package.  We used a yellow cake it is a favorite, also I thought it would be neat to take some scoops of the cake mix before baking it and add red or yellow coloring and plop them in so when you cut the cake the inside had more of a fire look,…maybe next time.

We baked the cake in a 9 X 13, cut it in half and sacked it, you could do 2 round pants as well.

Let it cool, frost as you normally would, we used chocolate.

Then take the butterscotch and cinnamon hard candies, put them in a baggies and pound them until crushed, almost like a sugar.

Then put them on a sheet of tinfoil that has been sprayed with non stick spray and put in the oven at 350, here are the candies we melted:

2013 May 172 copy

This does not take long 5 minutes or so, it will look a little liquidy and bubbly, also when you melt the candies you can choose how thick to make them which will change the time depending on the thickness.

Once cooled, break into pieces and put on your cake however you like, add pirouette cookies as the “loge for your fire.

We added fire to the edges, the candy stuck very well to the frosting.

2013 May 169 copy

Ta-Da bonfire cake!

2013 May 164 copy

Sing with me This cake is on Fi-yah!

2013 May 167 copy

Happy 9th Birthday!!  This girl knows how to party 🙂

2013 May 253 copy


My first Duathalon, Cannon Falls

I need to give you all a weekend recap, the lineup was:

9 am Saturday morning, just me; Cannon FAlls Duathalon

2 pm Saturday afternoon the whole family; Colordash

9 am Sunday morning, just me: Spring Fling Diva Dash.

Seriously!

I have to tell you that I was so excited/nervous that I barely slept Friday night, plus Jon worked an overnight shift, which means that none of us slept very well, it is weird how the kids just sleep differently with him out of the house.

I had breakfast made, everyone organized, all my gear set out and we left on time…..and got 17 minutes away when i realized I did not have my helmet…*&$%….this is the one thing that I could NOT race without, my Garmin, fuelbelt, gu champs, all of those I would have been OK without, %&$*!

I RACED back home got my helmet, RACED to the start, which was in a town 45 minutes away, praying not to get pulled over, called my friend who was racing with me, she picked up my packet.

I got these pinned on my number, got body marked, parked my bike and just got the last satellite signal on my Garmin and we were off.

I was already racing at this point.

2 mile run:

2013 April 057 copy

14 mile bike….yep thats me on my old GT mountain bike, and skater girl helmet (yes I have a helmet!!!).

I came in from the first 2 mile run in about 16 minutes, so i was feeling pretty good, then I started getting passed by people pretty quickly, my bike is heavy, not really meant for racing, but I am not serious enough to invest in a road bike…yet.

One lady passed me and I turned and said “great job”…she said, “wow, you are doing really well on that kind of bike”….thanks!

2013 April 061 copy

3 more miles, this last transition was the hardest, my legs were a little wobbly and felt heavy, I kept going and actually kept up a solid pace.  I passed a few runners, HA, I might have a heavy bike, but I know how to run.

2013 April 067 copy

Finish time 1:40:XX, my goal was to come in under 2 hours, because I really had not idea how long the bike portion would take, with wind and hills, I guess I was a little off on my estimation.

Here I am in my Patchworkreality cover shoot 😉

2013 April 082 copy

This was such a fun experience, I love the challenge that I got in training for and participating in this event, as a runner, sometimes all I do is practice running, I noticed a difference in my pace and even shed a few pounds, but mostly toned up some new parts of this old bod.   I am already planning to participate in another Du in September, and am going to see about borrowing a road bike from someone to see if I can finish a little faster.

A huge thank you to all the volunteers and FInal stretch for putting on this event!

We’ve Got Wood

Seriously …number one in speech writing is an attention getter right?!? Well I am applying that to blog writing and titles..today.

Yes we do , we have wood: white oak unfinished 3 1/2 by 3/4 inch various length hardwood flooring,  wanna see??

Ebay 929

We have it set behind the love seat in the living room so it can “acclimate”, so that when we put it down, nail it in, sand it and clear coat it, we don’t end up with any seams shrinking and gaping open.

Ebay 930

The salesman at Lumber Liquidators said it should sit for about a week to 10 days.

Ebay 931

Can’t wait to show some progress on this pile of wood.

Better

I took Friday and Saturday of from running, which cancelled a total of 16 miles from my training plan.

Sunday I rode 20 miles on a stationary bike at teh club.

This coming Saturday is my Duathalon…Dualathon…whichever…2 sports one race 😉

I am felling better so today I ran a slow 4 miles on the treadmill, still to rainy to go outside.

I made it no pain, my back still hurts just a little bit in certain positions, I am very thankful that I did no severely injure myself, I think I just tweaked something doing a sloppy kettlebell workout…I  might just need a little more sleep.

I fell so much better. I could feel myself getting crabby and not coping with life as well.

Truth is running is my reset button, somehow it has become part of me, like breathing or sunshine, I thrive with it in my life.

Crazy to understand if it is not your gig, plain truth if you are a runner.